How to Read & Use a Cross Stitch Pattern: Complete Beginner's Guide (Step-by-Step)
Understand 10×10 counting grids, DMC floss legends, center arrows, Aida fabric holes, and how to track your progress on paper or iPad.
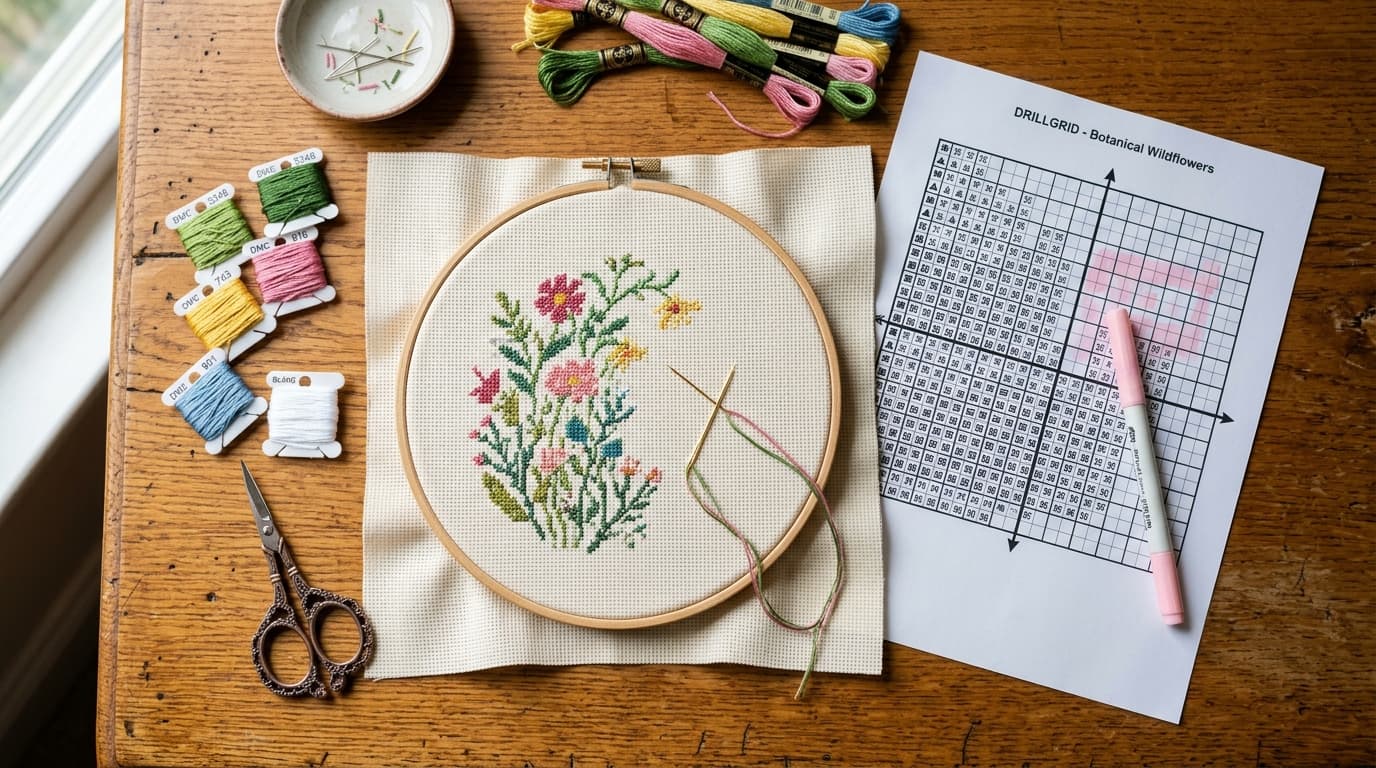
At a Glance
Key findings and core takeaways from our testing and hands-on crafting experience.
How a Counted Cross Stitch Pattern Works (The 1:1 Grid Rule)#
When you open a counted cross-stitch pattern for the first time, the page of tiny black-and-white symbols, numbers, and overlapping grid lines can look like an engineering blueprint.
In reality, the entire system rests on one simple rule:
Unlike stamped cross-stitch (where the picture is pre-printed in washable ink directly onto the cloth), counted cross-stitch uses blank woven fabric—most commonly Aida cloth—and a printed or digital symbol map. You count the squares on the chart, transfer that count to the woven squares on your fabric, and stitch the matching DMC embroidery floss color into place.
Because counted cross-stitch charts and diamond painting charts both use a 1:1 orthogonal square grid mapped to official DMC color codes, any chart generated in Square Mode in DrillGrid works immediately as a precision counted cross-stitch pattern!
Anatomy of a Cross Stitch Chart: 5 Elements Decoded#
Before threading your needle, locate these five building blocks on your pattern:
| Chart Element | What It Looks Like | What It Tells You |
|---|---|---|
| 1. Individual Grid Cell | A tiny square containing a symbol (▲, ●, #, 7) | Represents 1 full cross stitch using the DMC color assigned to that symbol. Blank white squares usually mean "leave unstitched fabric." |
| 2. Bold 10×10 Grid Lines | Thicker dark lines every 10 columns and 10 rows | Groups the chart into 10×10 blocks (100 stitches each) with coordinate numbers (10, 20, 30...) along the top and left margins so you never lose your place. |
| 3. Center Arrows (▲ / ◄) | Black triangles along the top, bottom, left, and right edges | Point to the exact vertical and horizontal center lines of the design—where most stitchers place their very first stitch. |
| 4. DMC Color Key / Legend | A table listing Symbol + DMC Number + Color Name + Stitch Count | Connects every symbol on the grid to an official DMC 6-strand embroidery floss number (e.g., DMC 310 Black or DMC 666 Bright Red). |
| 5. Grid Dimensions | Listed as Columns × Rows (e.g., 120 × 160 stitches) | Tells you the stitch width and height so you can calculate your finished size in inches or cm on 14ct, 16ct, or 18ct Aida cloth. |
Turn your own photo into a diamond painting chart
Upload any photo, match 480+ official DMC colors, compare round & square drills, and preview high-res detail in your browser.
Step 1: Read the DMC Color Legend & Prep Your Floss Strands#
Start by checking your pattern's DMC Color Legend (in DrillGrid, this is printed on a dedicated cover sheet with color swatches, symbols, DMC codes, and exact stitch counts).
- Pull the matching DMC skeins: Match the 3- or 4-digit DMC numbers on the legend to the numbers printed on your embroidery floss labels (use our free Interactive DMC Color Lookup if you need to check a shade or find a close substitute).
- Cut an 18-inch (45 cm) working length: Longer lengths tangle and fray as they pass repeatedly through the stiff Aida fabric holes.
- Separate your strands (The Beginner Trap!): Standard DMC embroidery floss is made of 6 individual strands twisted together. You almost never stitch with all 6 strands at once! Instead, hold the cut thread with one hand, pinch 1 single strand at the top tip, and pull it straight up—the remaining 5 strands will bunch down and popright back into place without tangling.
How Many Strands of Floss Should You Use?
| Aida Fabric Count | Stitches Per Inch | Recommended Strands (Full Cross Stitch) | Recommended Tapestry Needle Size |
|---|---|---|---|
| 11-Count Aida | 11 stitches/inch | 3 strands | Size 22 (blunt tip) |
| 14-Count Aida (Most Popular) | 14 stitches/inch | 2 strands (or 3 for fuller coverage on dark fabric) | Size 24 (blunt tip) |
| 16-Count Aida | 16 stitches/inch | 2 strands | Size 26 (blunt tip) |
| 18-Count Aida | 18 stitches/inch | 1 to 2 strands | Size 26 or 28 (blunt tip) |
Step 2: Find the Center of Your Pattern and Your Aida Fabric#
Why do almost all cross-stitch patterns tell you to start in the middle instead of the top-left corner?
Because starting in the exact center guarantees your finished design sits perfectly centered on your fabric with equal framing margins on all four sides—even if you mismeasured your cloth by half an inch!
- Find the center on the chart: Trace your fingers from the top arrow straight down and from the left arrow straight across. The intersection where those two lines meet is your starting stitch.
- Find the center on your Aida cloth: Fold your rectangular piece of Aida fabric in half lengthwise, then fold it in half again widthwise (into quarters). Pinch the folded corner tightly between your thumb and forefinger to make a small crease—or slide a sewing pin into that exact center hole.
- Mount your fabric in an embroidery hoop: Center your hoop around that pin mark and tighten the top screw until the fabric feels taut like a drum.
(Remember: Always cut your Aida fabric at least 6 inches / 15 cm larger than the finished stitch area in both width and height so you have a 3-inch margin on all four sides for your hoop and picture frame! Use our interactive Canvas & Aida Size Calculator below to check your exact fabric dimensions.)
Step 3: Map One Chart Square to Four Aida Fabric Holes#
Look closely at your woven Aida fabric under good light. You will see that the threads weave together in small raised blocks with 4 distinct pinhole corners surrounding each block:
- 1 square on your pattern grid = 1 woven block (4 corner holes) on your Aida fabric.
- To make one cross stitch:
- Bring your needle up from the back through the bottom-left hole (leaving a 1-inch tail on the back to catch under your first few stitches—never tie knots, which create lumps under framed fabric!).
- Push your needle down through the top-right hole to form a diagonal half-stitch (
/). - Come up through the bottom-right hole and go down through the top-left hole to complete the top leg (
\).
Step 4: Use the 10×10 Grid Lines to Count & Prevent Mistakes#
Once your center block of colors is stitched, use the bold 10×10 grid lines on your chart as landmarks:
- Instead of counting 37 squares across a blank row (where it is easy to skip a hole), count by 10-stitch blocks using the numbered coordinate rulers (
10, 20, 30, 40...). - The "Cross-Country" vs. "Gridding" Method: For medium or full-coverage photo patterns (like a 120×160 pet portrait generated in DrillGrid), many stitchers draw matching 10×10 grid lines directly onto their Aida fabric before starting using a blue water-soluble fabric pen (like a Clover Water Erasable Marker) or monofilament fishing line. When your fabric has the exact same 10×10 grid as your DrillGrid PDF chart, miscounting becomes nearly impossible!
Step 5: Mark Off Completed Stitches (On Paper or iPad)#
Never rely on memory to remember which part of a 20-stitch cluster you already finished. Always mark off stitches as you complete each thread length:
- If using a printed paper chart: Make a working photocopy (or print an extra copy of your DrillGrid PDF) and color over completed squares with a yellow or pink highlighter pen. Highlighter ink lets you still see the underlying symbol in case you need to check an adjacent stitch later.
- If using an iPad or Tablet: Open your exported vector PDF chart from DrillGrid in GoodNotes, Notability, or Apple Books / Preview. Because DrillGrid exports true vector glyphs rather than blurry bitmap screenshots, you can pinch-to-zoom to 400% with zero pixelation and highlight finished 10×10 blocks with your Apple Pencil!
How to Handle Multi-Page Cross Stitch Patterns#
Full-detail custom photo patterns (such as a 160 × 200 stitch portrait) are too large to print legibly on a single sheet of paper. When you export a multi-page PDF from DrillGrid:
- Page 1 is your Master Overview & Legend: Shows the full color preview alongside the complete DMC floss table, symbols, and stitch counts.
- Pages 2+ are Tiled Pattern Pages: Each page shows its coordinate range along the top and side rulers (e.g., Columns
1–60, Rows1–80) plus a shaded overlap column/row so you can transition smoothly from Page 2 to Page 3 without losing your count—or trim the margins and tape the pages together into a single poster chart!
Frequently Asked Questions#
Do you stitch the white background on a cross stitch pattern?
If the background squares on your chart are completely blank (no symbol inside), you leave the bare Aida fabric unstitched. If the white areas contain a symbol mapped to DMC B5200 (Snow White) or DMC 3865 (Winter White)—which is common in full-coverage photo patterns—you stitch those squares with white floss.
Should I stitch one cross at a time or a whole row of half-stitches?
When working across a horizontal row of the same color, use the Danish Method: stitch a row of bottom diagonals (/ / / /) from left to right, then return from right to left completing the top diagonals (\ \ \ \). This uses less thread and keeps the back of your fabric neat. For vertical columns or isolated confetti stitches, complete each full X before moving to the next square (English Method).
How do I turn my own photo into a printable cross stitch pattern?
Upload any photo in our Free Online Photo to Pattern Converter or download DrillGrid for Mac, iPad, and iPhone. Choose Square mode, pick your stitch dimensions, and export a counted cross-stitch PDF with 10×10 counting lines and exact DMC floss numbers.
Interactive Canvas & Drill Weight Calculator
Calculate physical drill counts, weight in grams, bag orders, and detail rating in real time.
Great for solo portraits, close-up pet faces, and high-contrast pop art.
Upload a photo and see exactly how it looks at this size. Free to try.
Ready to turn your photo into a diamond painting?
Upload any photo and get a printable pattern with exact colors and drill counts, free to try.
First pattern export free · iPhone, iPad & Mac · Free browser preview on any device
Frequently Asked Questions
What does 1 square on a cross stitch pattern equal?+
One square on a counted cross stitch pattern equals one complete X-shaped cross stitch worked over one woven intersection (4 corner holes) of Aida fabric.
Why are there bold lines every 10 squares on a cross stitch pattern?+
Bold lines divide the pattern into 10×10 stitch blocks (100 stitches per square) with numbered rulers along the margins. This lets you count stitches quickly in groups of 10 and verify your placement against the fabric.
How many strands of DMC floss do I use on 14-count Aida?+
On 14-count Aida cloth, separate 2 strands from the 6-strand DMC embroidery floss bundle for full cross stitches (and 1 strand for any fine backstitching).
Where should a beginner start on a cross stitch pattern?+
Beginners should start at the center of the pattern (indicated by the triangular arrows on the chart border) and match it to the center of their Aida cloth (found by folding the fabric into quarters). This ensures the design is centered with plenty of border margin for framing.
Continue Reading
More diamond painting guides, DMC color tools, and sizing formulas.
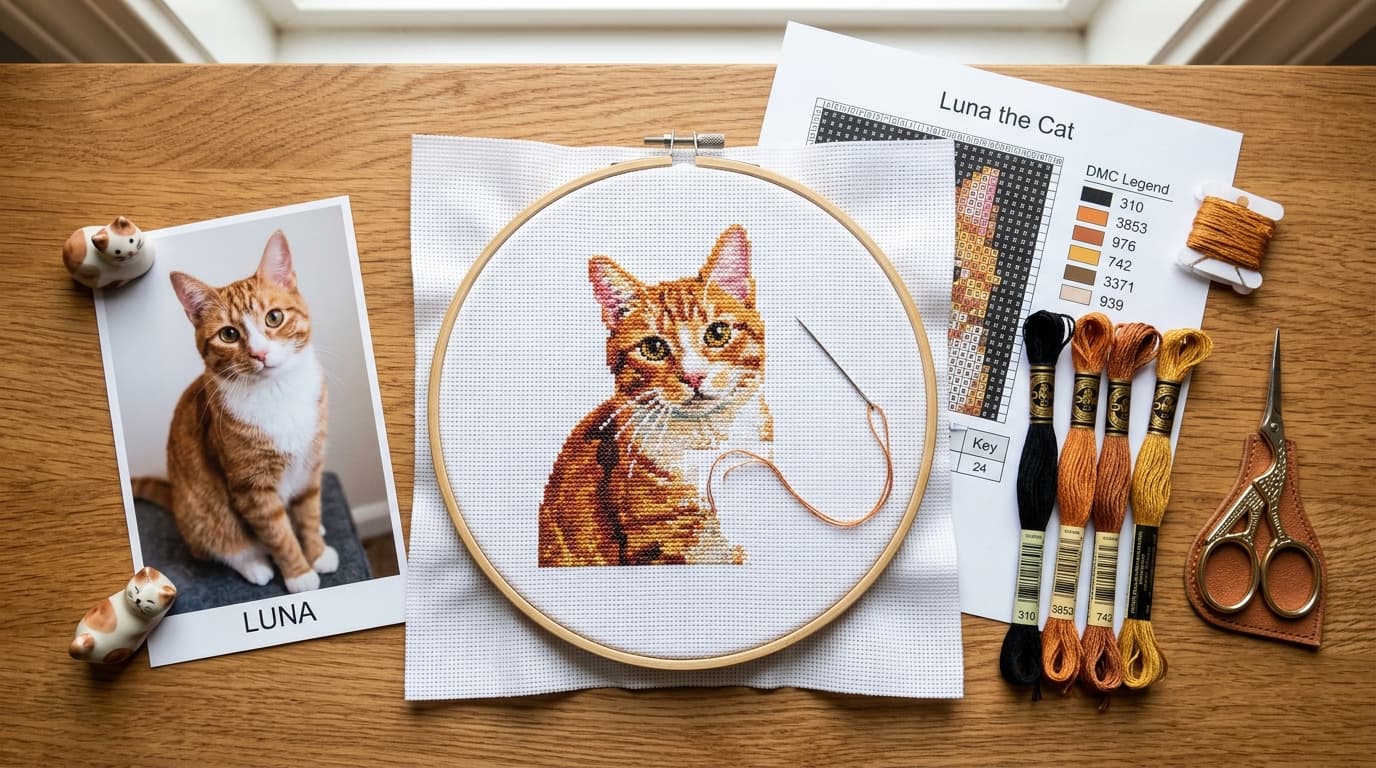
How to Turn Any Photo Into a Cross Stitch Pattern (Without Muddy Colors)
Learn how to turn any photo into a counted cross stitch pattern with accurate DMC floss colors, 10x10 counting grids, and readable chart symbols.
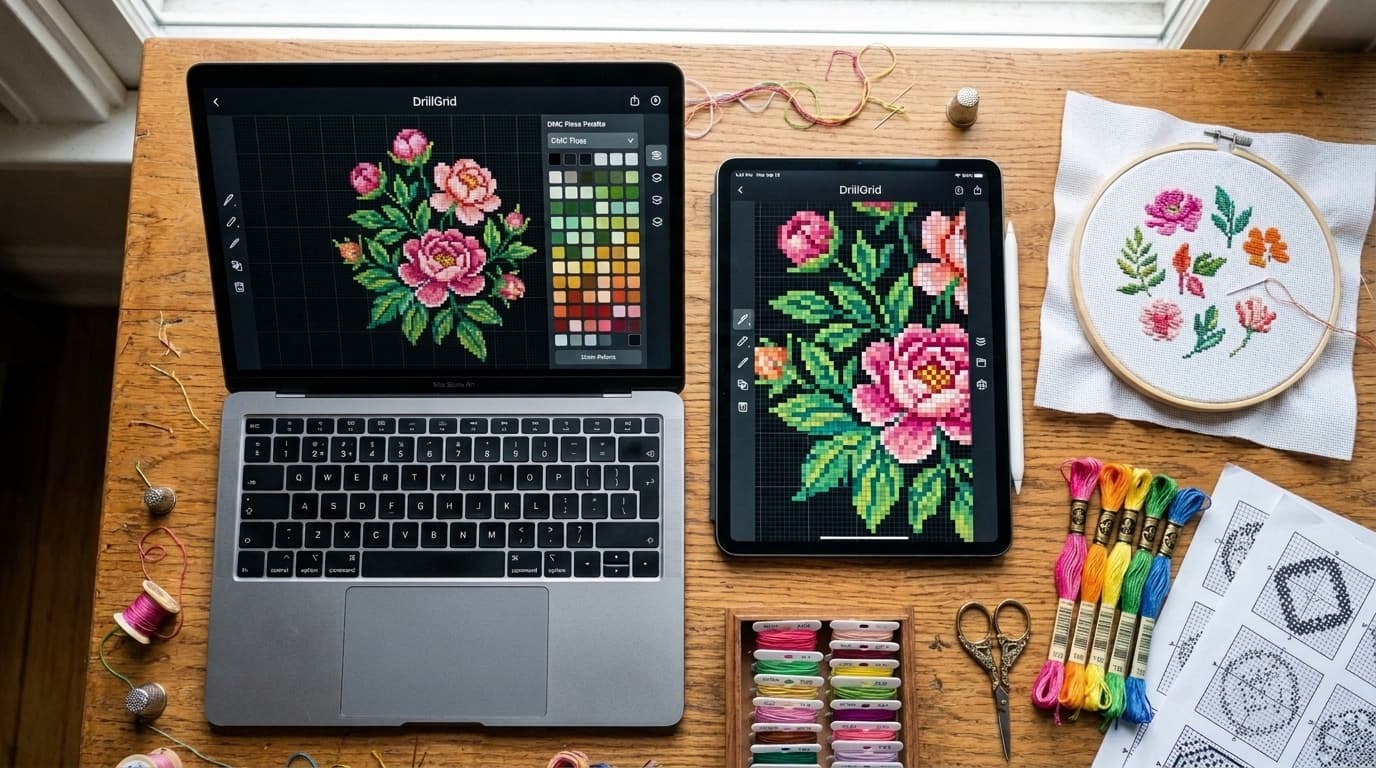
Best Cross Stitch Pattern Makers for Mac, iPad & iPhone (2026 Guide)
Compare the best cross stitch pattern makers for Mac, iPad, and iPhone in 2026. Review DMC color accuracy, PDF chart exports, floss stash tools, and pricing.
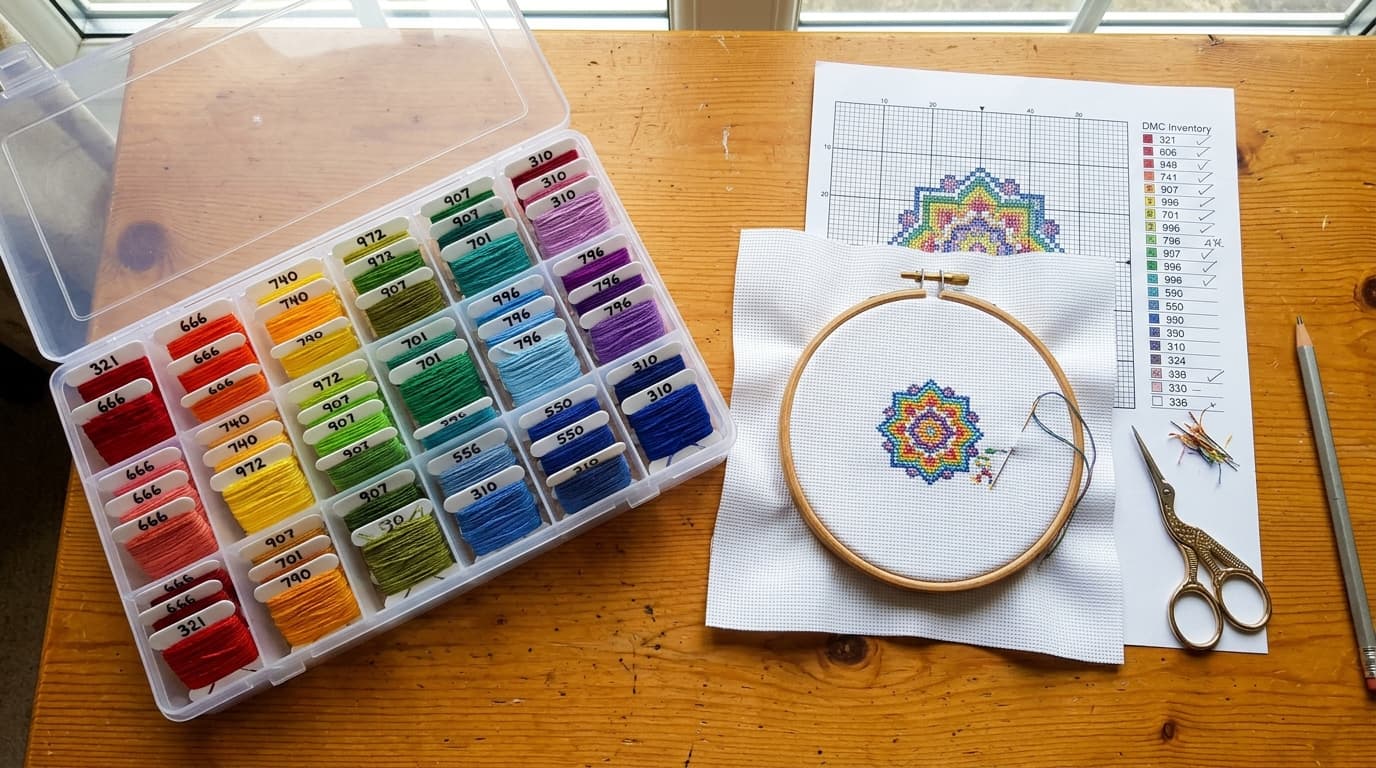
How to Make Custom Cross Stitch Patterns From Your Leftover DMC Floss Stash
Turn leftover DMC embroidery floss into custom cross stitch patterns. Match any photo to your existing bobbin stash and buy only missing skeins.
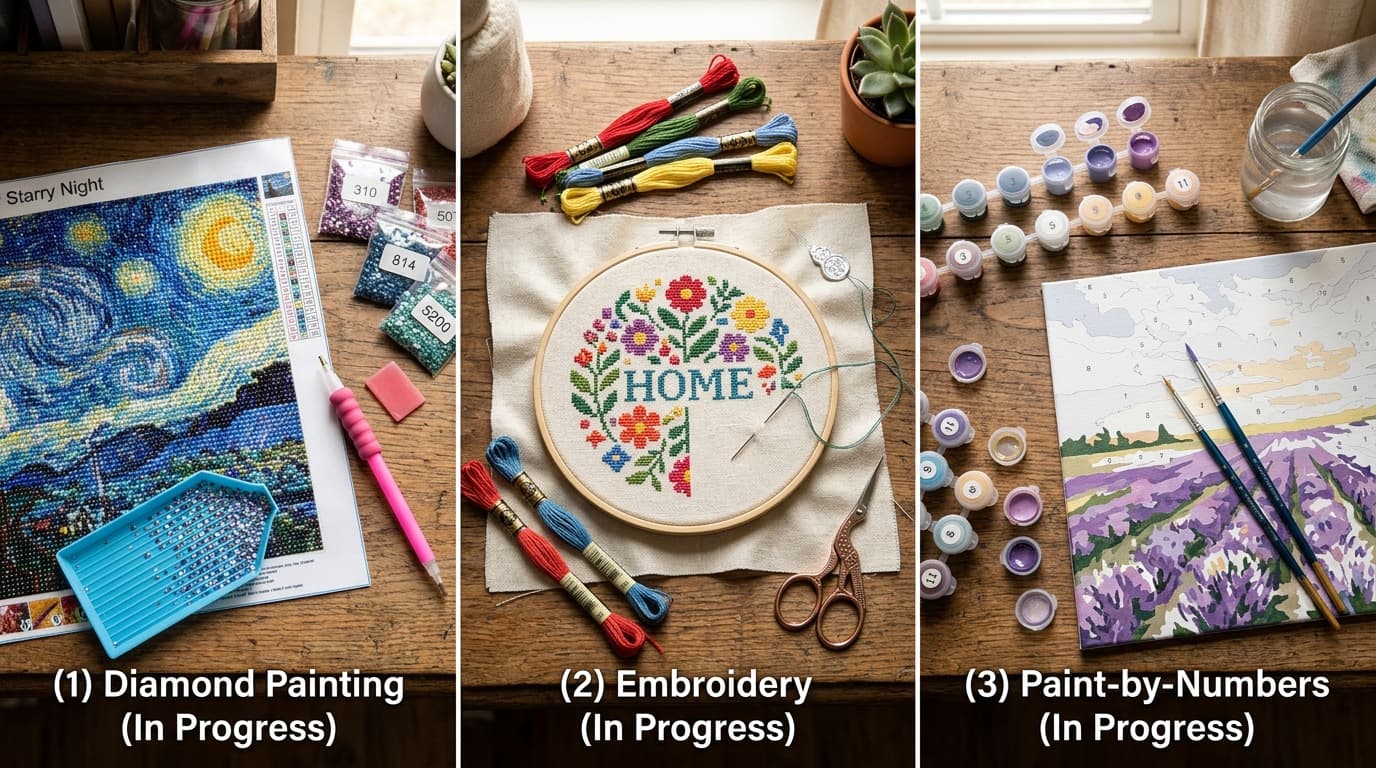
Diamond Painting vs. Cross Stitch vs. Paint by Numbers: Which Craft Is Best?
Diamond painting vs cross stitch vs paint by numbers: compare learning curve, DMC floss codes, mess, completion speed, and costs to find your ideal craft.