Diamond Painting for Beginners: The Complete Starter Guide (2026)
Everything you need to know to start your first diamond painting: from choosing a canvas to placing your first drill.
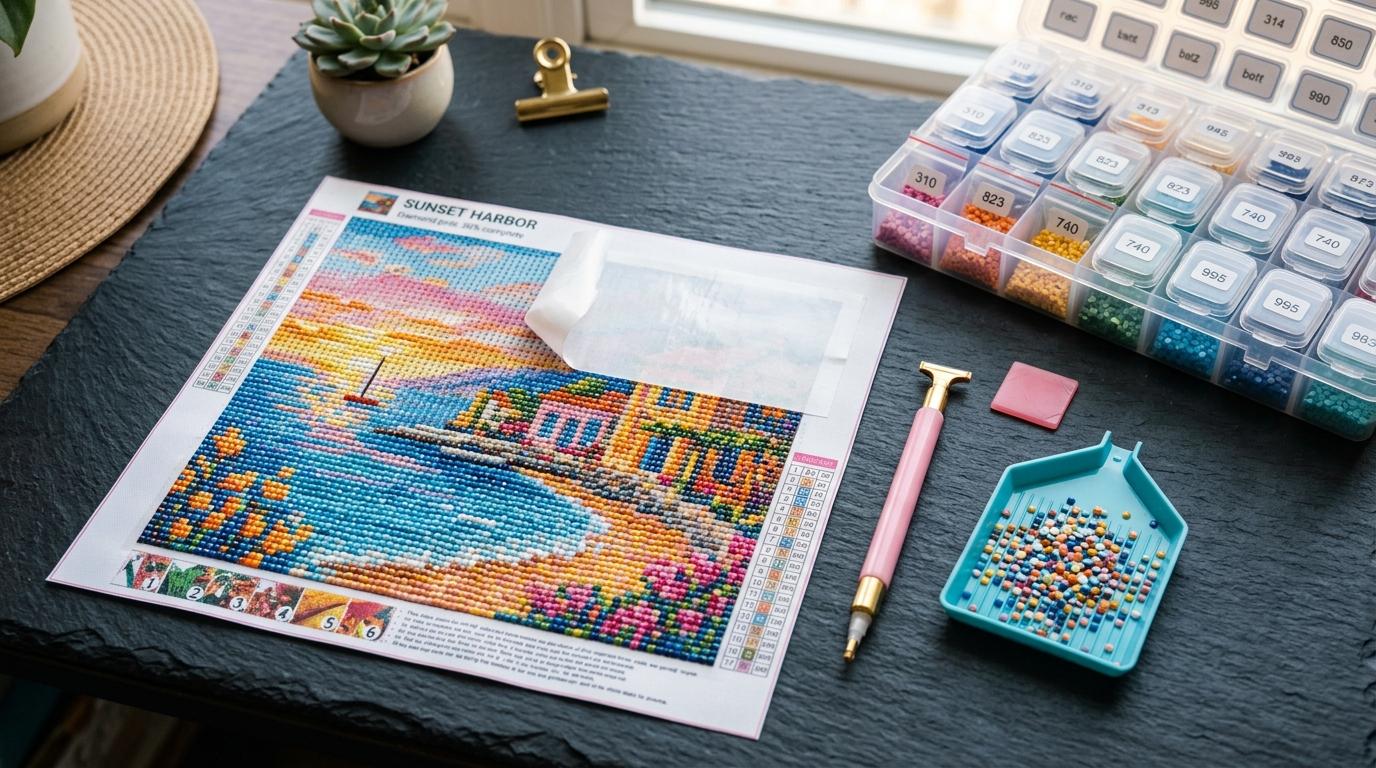
At a Glance
Key findings and core takeaways from our testing and hands-on crafting experience.
What Is Diamond Painting?#
Diamond painting is a craft that combines the relaxing repetition of cross-stitch with the sparkling visual impact of mosaic art. Instead of thread, you use tiny resin gems called drills (each about 2.5–2.8 mm wide) and press them onto a pre-printed adhesive canvas, one symbol at a time, to reveal a stunning finished image.
It's sometimes called "paint by numbers with diamonds," and that description is almost perfect. You don't need to be artistic. You don't need to draw. You just follow the chart, place the drills, and watch your canvas come to life.
What You Need to Get Started#
Diamond painting has a wonderfully low barrier to entry. Here are the only tools you genuinely need:
The 3 Essentials
| Tool | What It Does | Cost |
|---|---|---|
| Diamond Drill Pen | Picks up individual drills using wax tip suction | ~$1–5 |
| Wax Pad | Provides sticky wax to coat your pen tip for pickup | Included in most kits |
| Diamond Sorting Tray | Vibrates drills right-side-up for easy pickup | ~$1–3 |
Nice-to-Have Tools (Not Required)
- LED Light Pad: Illuminates the canvas from below, making symbols dramatically easier to read. Highly recommended for long sessions.
- Multi-Placer Pen: Places 3, 5, or 9 drills at once for filling large solid-color areas quickly.
- Tweezers: Useful for correcting misplaced drills or retrieving drills from hard-to-reach spots.
- Storage Organizers: Labeled containers (such as screw-top tic-tac cases or bead storage trays) to keep DMC colors sorted by code.
Turn your own photo into a diamond painting chart
Upload any photo, match 480+ official DMC colors, compare round & square drills, and preview high-res detail in your browser.
Choosing Your First Canvas Size#
As a beginner, resist the temptation to start large. A 60×80 cm canvas with 76,800 drills and 45+ colors is an incredible project, but it will take 60–100 hours to complete, and the frustration of maintaining motivation over weeks can discourage newcomers.
The ideal first canvas is between 20×20 cm and 30×40 cm.
| Canvas Size | Total Drills | Good For Beginners? |
|---|---|---|
| 20 × 20 cm | ~6,400 | ✅ Perfect first project, completable in a weekend |
| 30 × 30 cm | ~14,400 | ✅ Great for a close-up pet face or bold design |
| 30 × 40 cm | ~19,200 | ✅ Good second project, such as a portrait or pet |
| 40 × 50 cm | ~32,000 | ⚠️ Only after completing 1–2 smaller canvases |
| 50 × 70 cm+ | 56,000+ | ❌ Not for absolute beginners |
For a full deep-dive, read our Diamond Painting Canvas Size Guide.
Understanding DMC Colors & Symbols#
Every diamond painting chart uses a legend, which is a table that maps each chart symbol to a specific DMC color code.
DMC (Dollfus-Mieg et Compagnie) is the industry-standard color numbering system, originally created for embroidery thread and adopted by diamond painting manufacturers worldwide. When you see DMC 310, that is Jet Black. DMC 666 is Bright Red. DMC 5200 is Snow White.
How to Read the Symbol Chart
Each tiny cell on your canvas contains a printed symbol (a letter, number, or shape). Your legend tells you which DMC color corresponds to each symbol. You sort your drills by DMC code, fill your tray, and work one color at a time, finishing all of one symbol across the canvas before moving to the next.
Explore all 480+ DMC colors with our Interactive DMC Color Chart.
How to Place Drills Correctly (Step-by-Step)#
- Peel back a small section of the protective film, about 10 cm × 10 cm at a time. Never peel the entire canvas at once. The exposed adhesive will collect dust and lint, destroying its stickiness.
- Pour a small amount of drills into your sorting tray and give it a gentle shake. The drills will self-orient right-side-up, flat face down.
- Press your wax-coated pen tip lightly onto the flat top of a drill. It will stick to the wax and lift cleanly.
- Position the drill over its matching symbol on the canvas. Press down gently but firmly until you feel it seat flush against the adhesive.
- Work in rows (top to bottom, left to right) to avoid accidentally disturbing freshly placed drills with your hand.
Common Placement Mistakes to Avoid
- Pressing too hard: You can split or crack budget drills. Firm and level is all you need.
- Skipping sections: Always complete entire rows or color areas before moving on. Gaps are extremely hard to fill neatly later.
- Peeling too much film at once: Exposed adhesive collects dust within minutes in normal room conditions.
Beginner Tips to Avoid Common Frustrations#
1. Keep Your Canvas Flat
Roll your canvas in the opposite direction to uncurl it, then store it flat under heavy books for 24 hours before starting. A buckled canvas is far harder to work on.
2. Use a Light Pad
Even cheap LED light pads (~$10–15) make an enormous difference. The backlit symbols become crystal clear, reducing eye strain during long sessions by 80%.
3. Label Every Bag Immediately
Never rely on your memory to know which bag is which color. Label each drill bag with its DMC code as soon as you open it. This single habit saves hours of confusion.
4. Start With Your Darkest Color
Placing dark outlines first anchors the composition and makes it much easier to place light colors accurately around them, just like a coloring book.
5. Seal When Finished
Once your canvas is complete, apply a sealant to lock all drills permanently in place. See our complete guide: How to Seal a Diamond Painting.
Creating a Custom Pattern From Your Own Photo#
Pre-made kits are beautiful, but nothing is more personal than turning your own photo into a sparkling diamond painting: your pet, family, or holiday memories.
This is where DrillGrid makes the entire process beginner-friendly:
- Upload any photo from your camera roll (JPEG, PNG, HEIC).
- Choose your canvas size: DrillGrid shows you exactly how many drills you'll need so you can pick a size that fits your skill level and budget.
- Pick a drill shape: toggle between Square (2.5 mm) and Round (2.8 mm). For beginners, Round is recommended.
- Set your color depth: the Balanced profile keeps your palette to 25–40 DMC colors, which is the perfect complexity for a first custom project.
- Export a 1:1 scale printable PDF or vector EPS: each cell in the print is physically sized to a real drill (2.5 mm or 2.8 mm). Place the printed chart on a light pad, overlay your blank adhesive canvas, and begin placing drills exactly as if it were a pre-made kit.
Ready to turn your photo into a diamond painting?
Upload any photo and get a printable pattern with exact colors and drill counts, free to try.
Free preview in your browser · No account or download needed
Frequently Asked Questions
How long does it take to complete a diamond painting?+
Completion time depends on canvas size and your session length. A 20×20 cm canvas (6,400 drills) typically takes 5–10 hours across 2–3 sessions. A 40×50 cm canvas (32,000 drills) takes most crafters 25–45 hours. Larger 50×70 cm canvases can take 60–100 hours.
Can I create my own diamond painting pattern as a beginner?+
Yes! DrillGrid is specifically designed to make custom pattern creation accessible for beginners. You upload a photo, choose your canvas size and color depth, and download a ready-to-use chart, with no design experience required. Your first full export is free.
Do I need a light pad for diamond painting?+
A light pad is not strictly required, but it is one of the highest-impact upgrades a beginner can make. It backlit the canvas symbols, reducing eye strain dramatically during long sessions. Budget LED light pads cost as little as $10–15.
What is the best subject for a beginner's first diamond painting?+
High-contrast, simple images work best: a close-up pet face, a bold floral arrangement, a simple landscape with clear sky and foreground. Avoid group photos, detailed backgrounds, or images with many similar shades for your first canvas.
Continue Reading
More diamond painting guides, DMC color tools, and sizing formulas.
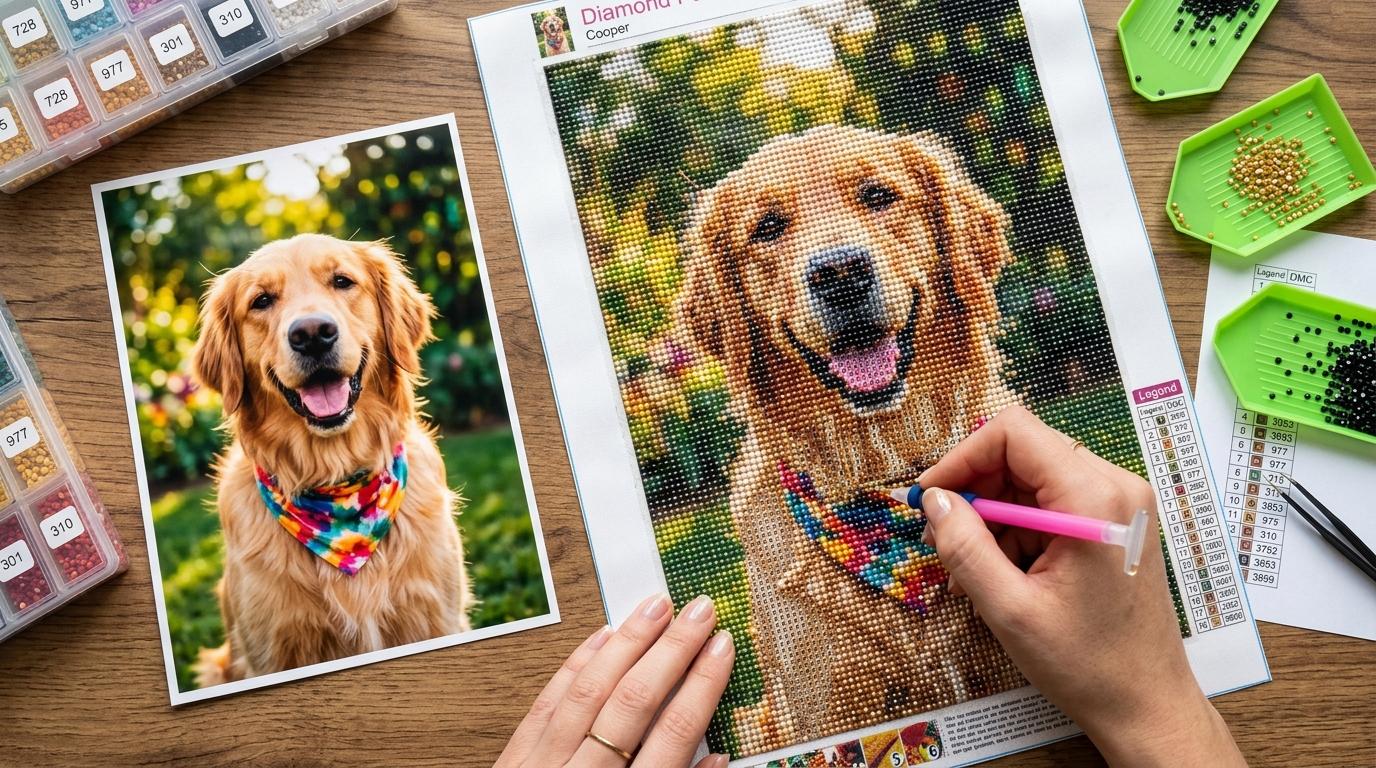
How to Turn Any Photo into a Custom Diamond Painting Chart (Step-by-Step)
Learn how to turn any personal photo, pet picture, or artwork into a print-ready diamond painting chart with exact DMC colors.
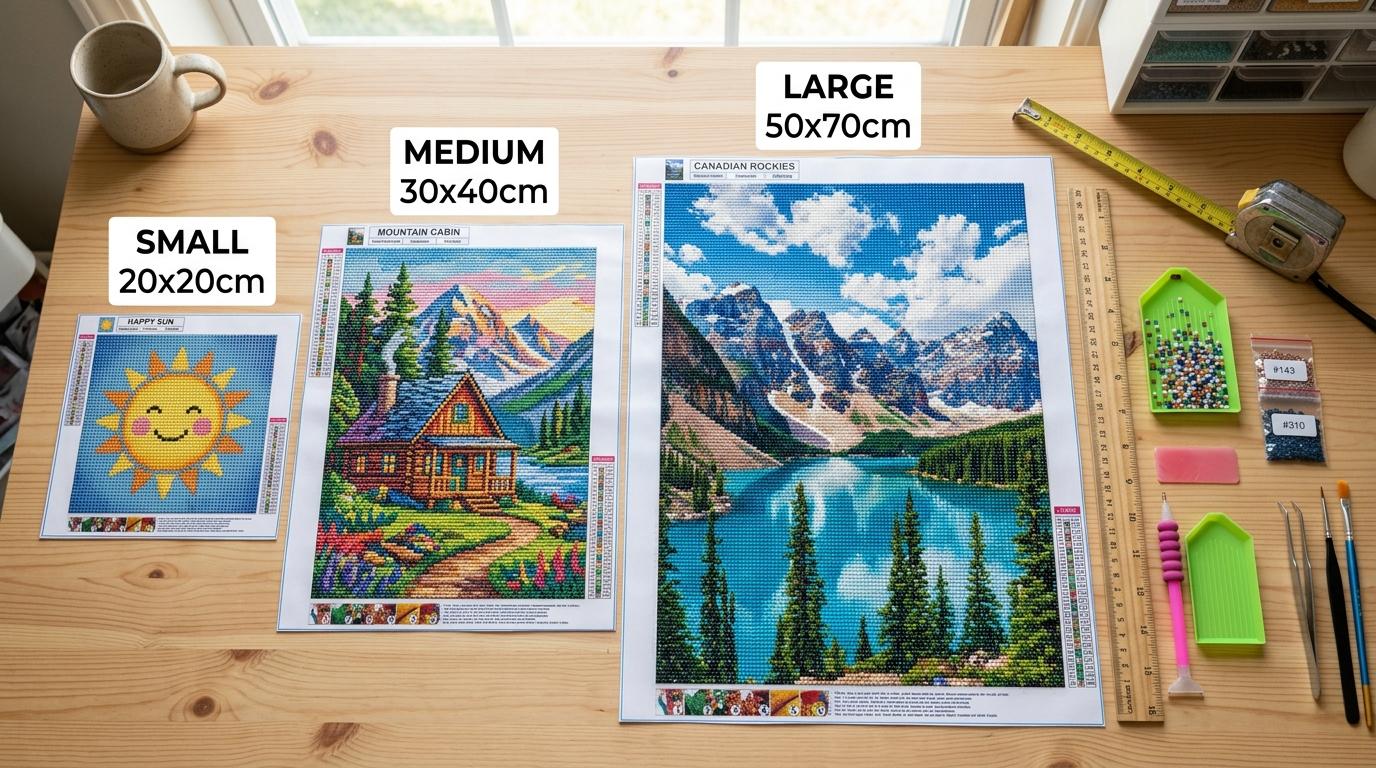
Diamond Painting Sizes: Complete Canvas Size Chart & Guide
The complete guide to diamond painting sizes. Compare standard canvas dimensions in cm and inches, drill counts, frame sizes, and detail scores.
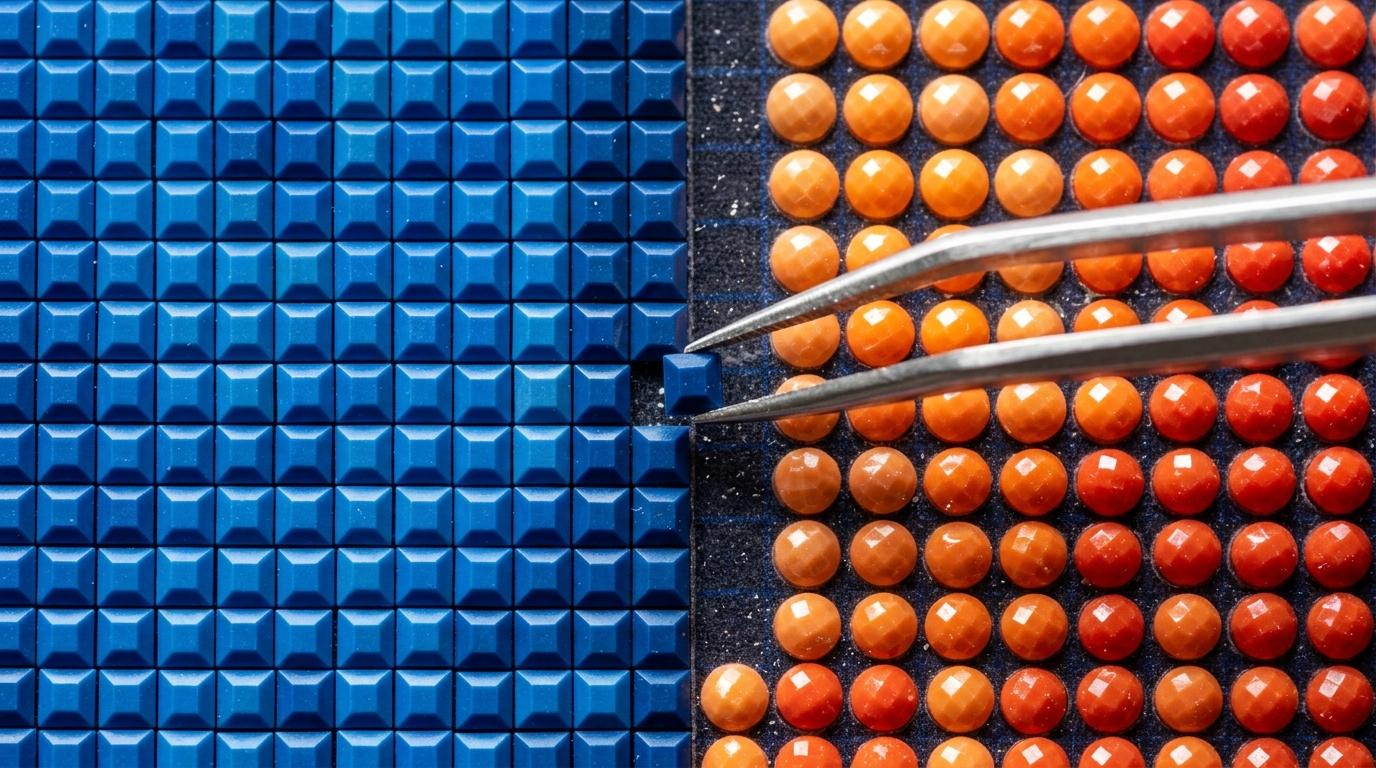
Square vs. Round Diamond Drills: Which Is Right for Your Project?
Square drills or round drills? Compare how each one looks, how easy they are to place, and which is better for your next project.
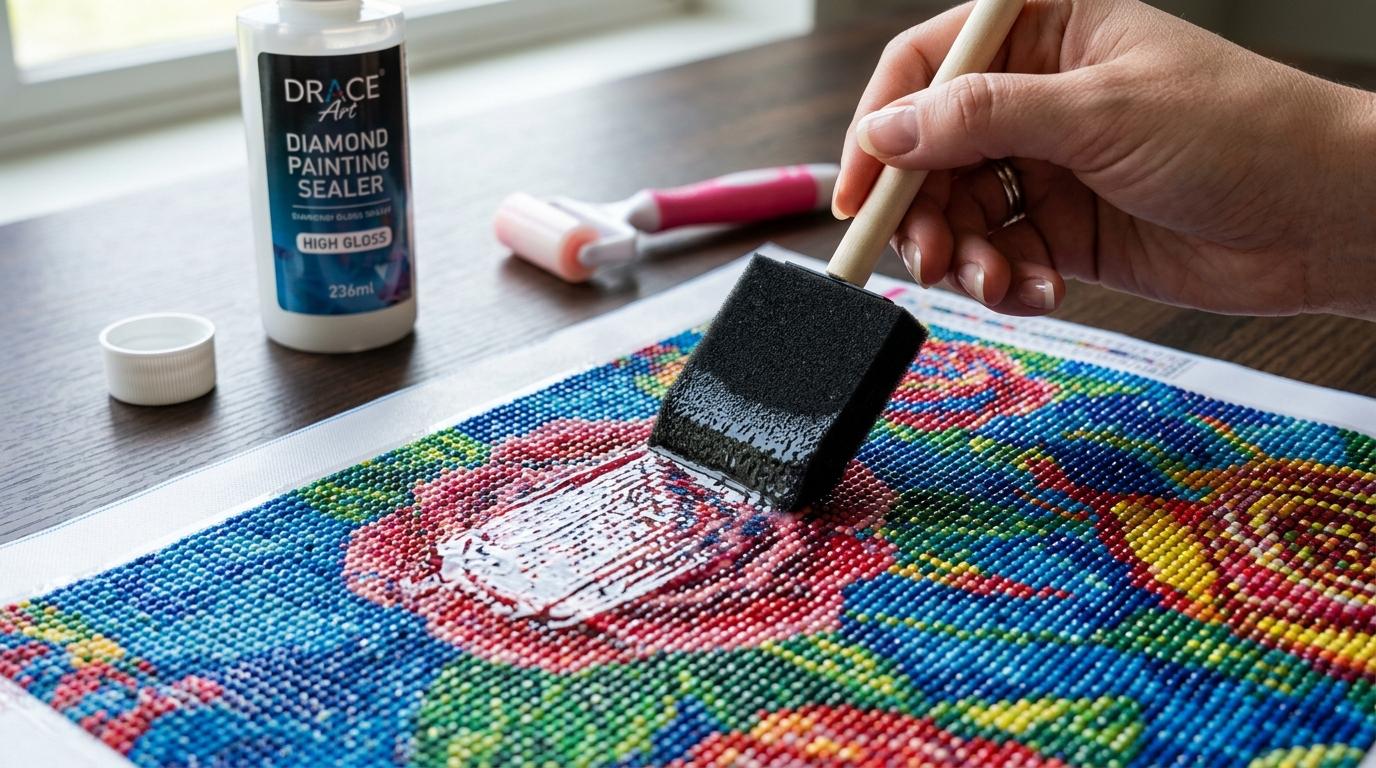
How to Seal a Diamond Painting: The Complete Step-by-Step Guide
Learn how to seal a finished diamond painting so drills never fall off. Covers the best products to use, how to apply them, and how to keep AB drills shiny.