How to Flatten a Diamond Painting Canvas: 5 Safe Methods (Plus River & Air Bubble Fixes)
Get curls, shipping creases, and stubborn glue bubbles out of any rolled diamond painting canvas without melting the adhesive.
At a Glance
Key findings and core takeaways from our testing and hands-on crafting experience.
Why Rolled Diamond Painting Canvases Refuse to Lay Flat#
When you unbox a new diamond painting kit that was tightly rolled inside a shipping tube—or worse, folded inside a plastic mailer bag—the canvas often springs right back into a tight cylinder the moment you let go.
Here is the physics secret most beginners don't realize: it usually isn't the fabric canvas holding the curl—it's the plastic cover sheet.
When the factory laminates the stiff plastic cover onto a flat canvas and then rolls both layers into a narrow tube, the outer layer stretches slightly while the inner layer compresses. Until you momentarily separate the plastic film from the glue so the two layers can slide back to equilibrium, heavy books alone will take days to work.
First Check: Poured Glue vs. Double-Sided Adhesive Tape#
Before you flatten your canvas or fix any creases, take 10 seconds to check which adhesive type your canvas uses:
| Feature | Poured Glue Canvas | Double-Sided Adhesive Tape Canvas |
|---|---|---|
| Protective Cover | Clear, crinkly cellophane film | White opaque silicone release paper (usually) |
| Edge Appearance | Slightly rounded, glossy glue border | Sharp straight tape edge (you can feel a step) |
| Behavior When Rolled | Glue stays smooth; rarely forms air tunnels | Tape shrinks/stretches, creating raised "rivers" |
| Can You Counter-Roll? | ✅ Yes, safely in either direction | ⚠️ Only roll with drills/glue on the outside |
Turn your own photo into a diamond painting chart
Upload any photo, match 480+ official DMC colors, compare round & square drills, and preview high-res detail in your browser.
Step 1: Peel & Re-Lay the Protective Film Quadrant by Quadrant#
This 60-second trick removes 70% to 80% of canvas curl immediately without needing weights or heat:
- Lay your rolled canvas face-up on a clean table.
- Starting at the top-left corner, peel the plastic cover sheet back diagonally to the center of the canvas (exposing about one-fourth of the sticky surface).
- Smooth the exposed canvas flat against the table with your free hand, then slowly lower the plastic cover back down from the center outward, smoothing it with a felt squeegee, credit card, or your palm.
- Repeat for the top-right, bottom-left, and bottom-right quadrants.
As soon as all four quadrants have been lifted and re-smoothed, the differential tension between the film and the fabric vanishes—and your canvas will relax almost completely flat!
Step 2: Counter-Roll or Press Under Heavy Flat Weights#
If the canvas fabric itself still has curl memory along the top and bottom edges or creases from shipping:
- The Counter-Roll Method (Poured Glue Only): Gently roll the canvas in the opposite direction (so the printed symbol side is on the outside of the cylinder) around a pool noodle or wide cardboard tube for 5 minutes. Note: If your canvas uses double-sided tape, only roll it with the adhesive facing outward so the tape doesn't buckle.
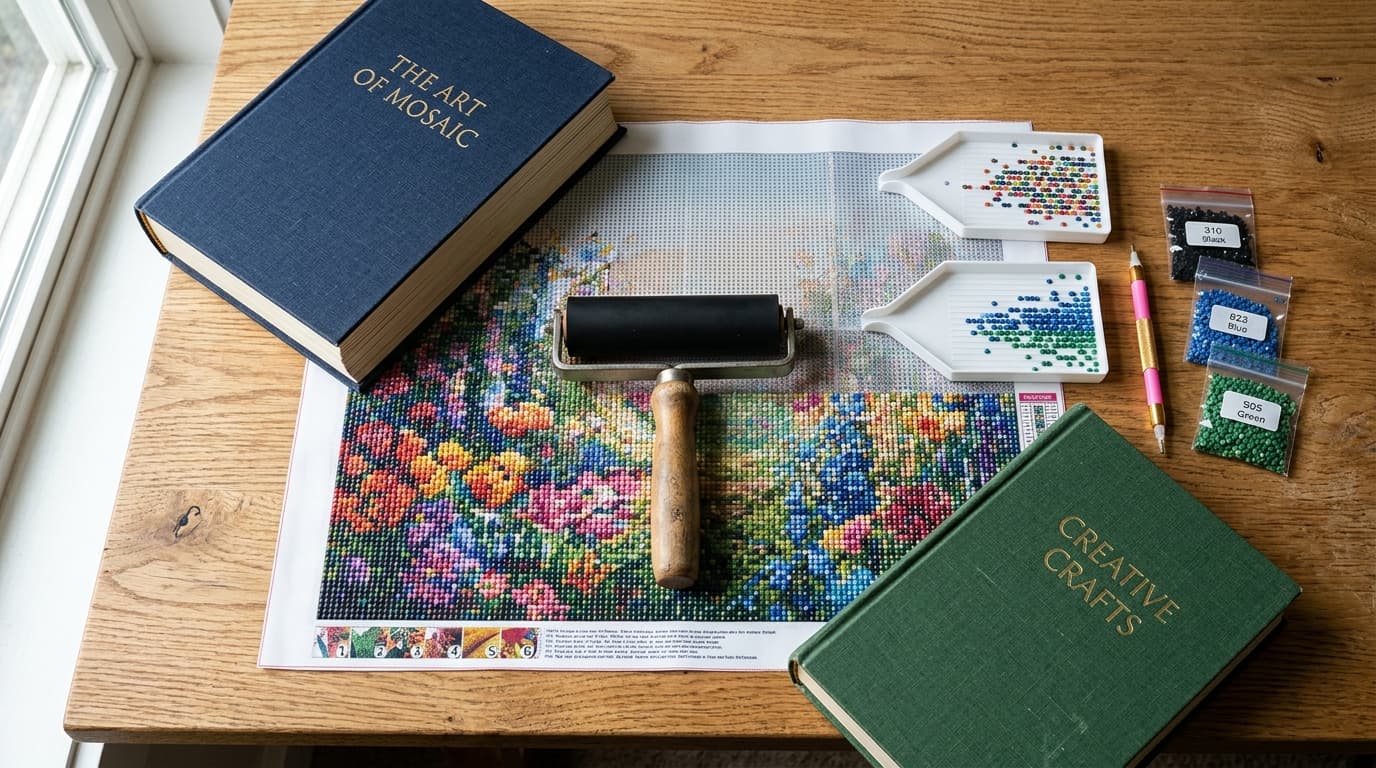
- The Overnight Mattress or Heavy Book Press: Place your canvas on a flat table, lay a clean wooden cutting board or large hardcover art books across the entire surface, and let it rest overnight. Putting the canvas between your mattress and box spring for 12–24 hours applies perfectly uniform pressure across even a giant 60×80 cm canvas.
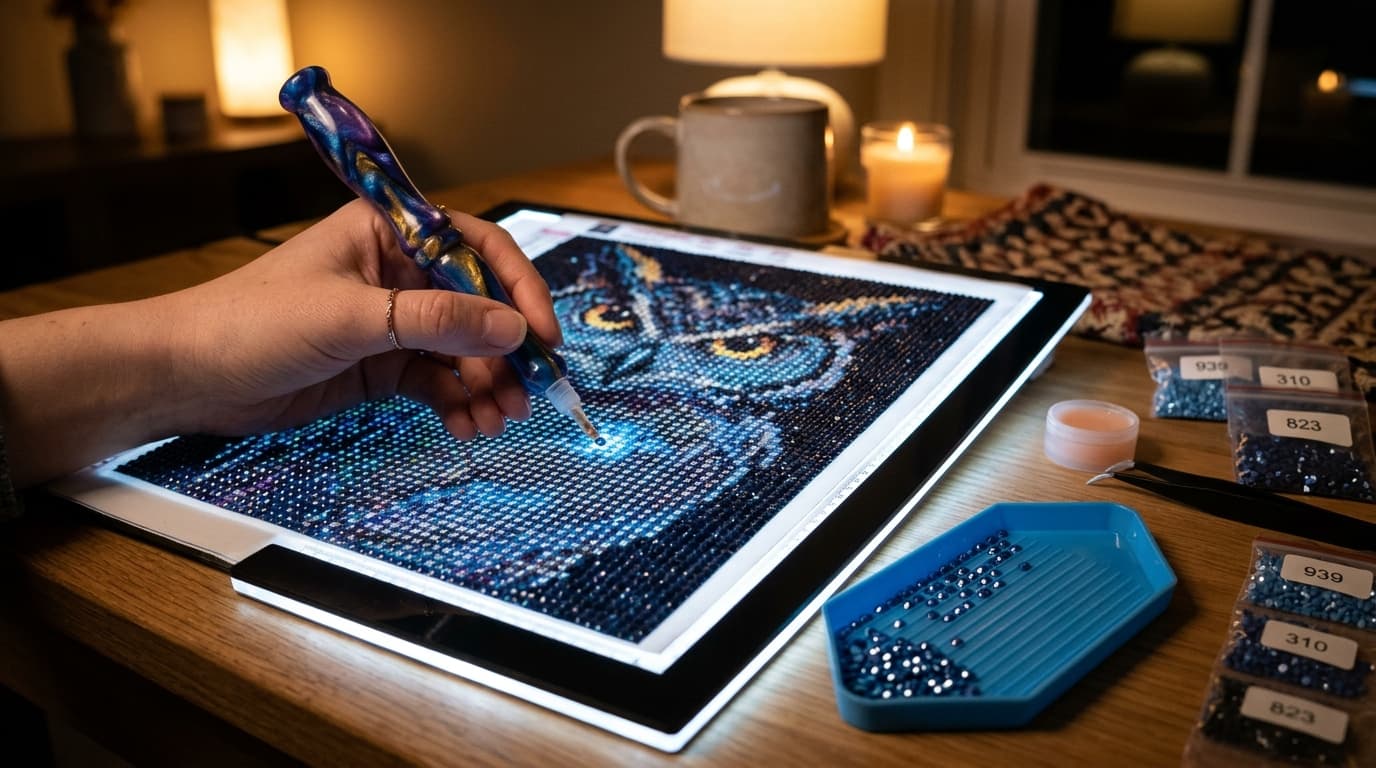
- The Warm LED Light Pad Trick: Clip your canvas onto an LED Light Pad and start working on your first 10×10 cm section. The gentle ambient warmth from the LED surface combined with the weight of the drills you place will naturally flatten the canvas within your first session.
Step 3: Remove Air Bubbles & Glue "Rivers" Safely#
If your canvas uses double-sided adhesive tape, tight rolling often causes narrow tunnels of trapped air—called "rivers" in the diamond painting community—where the tape pulls up from the canvas cloth. If you place drills over a raised river, the drills will pop off or sit crookedly.
How to fix a glue river safely:
- Peel back the release paper over the raised bubble or river.
- Take a precision craft knife (X-Acto blade) with a brand-new sharp tip and make a feather-light slit directly along the spine of the air bubble—cutting only the thin layer of adhesive tape, never pressing hard enough to slice the woven canvas fabric underneath.
- Fold the protective release paper back over the area and firmly roll an acrylic brayer roller (or the back of a spoon) from the edges of the bubble toward the slit to push the trapped air out and bond both sides of the tape flat against the canvas.
Can You Iron a Diamond Painting Canvas? (The Safe Way)#
You can use a household clothes iron on a badly creased canvas before any drills are placed, but only if you follow four strict rules:
- Turn Steam 100% OFF (and empty the water tank): Steam and moisture will turn diamond painting adhesive milky and destroy its tack.
- Use the Lowest Heat Setting (Synthetic / Nylon / Low): High heat melts both poured glue and plastic release sheets.
- Flip the Canvas Face-Down on a Towel: Never iron on the front plastic cover side. Lay a clean bath towel on your ironing board, place the canvas sticky-side down (with its protective film still attached), and lay a second thin cotton pillowcase or parchment sheet over the back of the canvas.
- Keep the Iron Moving for 3–5 Seconds Per Pass: Gently glide the warm iron across the back of the creases, then immediately lay the canvas under flat books while it cools so the fibers lock into a flat plane.
How to Skip Shipping Creases Entirely With Flat Custom Charts#
Tired of waiting 3 weeks for overseas custom kits only for them to arrive crushed and creased in a thin plastic mailer?
When you generate your own custom pattern with DrillGrid (or test a photo in our Free Photo to Pattern Tool below), you can print a razor-sharp 1:1 scale chart at home on flat heavyweight cardstock or place it under a flat poured-glue blank canvas on your light pad—giving you a crystal-clear, crease-free project in minutes.
Frequently Asked Questions#
How long does it take to flatten a diamond painting canvas under books?
If you first peel and re-lay the protective film one quadrant at a time, pressing the canvas under heavy books or between a mattress and box spring takes 4 to 12 hours. Without peeling the film first, it can take 2 to 3 days.
Why does my diamond painting canvas have raised lines or rivers?
Raised lines ("rivers") happen on canvases made with double-sided adhesive tape when air gets trapped between the tape and the canvas during rolling. Slit the very top of the air bubble lightly with a craft knife and press the air out with a brayer roller.
Will placing drills help flatten the canvas?
Yes! As you fill a canvas with resin or acrylic drills, the added weight and rigidity of the mosaic naturally holds the canvas flat.
Ready to turn your photo into a diamond painting?
Upload any photo and get a printable pattern with exact colors and drill counts, free to try.
First pattern export free · iPhone, iPad & Mac · Free browser preview on any device
Frequently Asked Questions
What is the fastest way to flatten a rolled diamond painting canvas?+
Peel the plastic protective cover back one quadrant at a time to the center and smooth it back down. This releases the tension between the film and the canvas fabric and removes 80% of the curl in under 60 seconds.
Can I use a hair dryer or heat gun to flatten a diamond painting?+
A hair dryer on Low/Warm held 25–30 cm away from the back of the canvas can relax stubborn creases safely, provided you immediately press the canvas under flat books while it cools. Never use a high-heat craft heat gun, which can melt the glue and warp the plastic film.
How do I fix air bubbles or rivers in a diamond painting canvas?+
Peel back the cover, lightly score just the top skin of the adhesive bubble along the grain of the canvas using a sharp X-Acto craft blade (without cutting the fabric threads), replace the cover, and roll firmly with a brayer to expel the trapped air.
Should you roll a diamond painting with drills on the inside or outside?+
Always roll a diamond painting with the drills (and adhesive) facing the OUTSIDE of the roll. Rolling with drills on the inside forces adjacent drills to crash into each other and pop off the glue.
Continue Reading
More diamond painting guides, DMC color tools, and sizing formulas.
Diamond Painting for Beginners: The Complete Starter Guide (2026)
New to diamond painting? Our complete beginner's guide covers canvas sizes, square vs round drills, DMC colors, light pads, and custom photo patterns.
12 Diamond Painting Mistakes to Avoid (And How to Fix Them)
Avoid common diamond painting mistakes: peeling too much film, blurry small canvases, crooked rows, and dried glue—plus how to fix each issue fast.
How to Fix a Diamond Painting Canvas That Is Not Sticky (And What if Part Is Sticky Free?)
Is your diamond painting canvas not sticky? Learn how to clean dusty glue with baby wipes and restore dried adhesive with Aleene's Tack-It Over & Over.
How to Use a Light Pad for Diamond Painting: Setup, Sizes & Lightpad Charts
Learn how to use a light pad for diamond painting: choose between A4 and A3, adjust brightness, eliminate eye strain, and use 1:1 lightpad charts.