How to Fix a Diamond Painting Canvas That Is Not Sticky (And What if Part Is Sticky Free?)
Rescue dusty, dried-out, or missing-glue sections on your diamond painting canvas in minutes—plus how to fix an upside-down cover sheet.
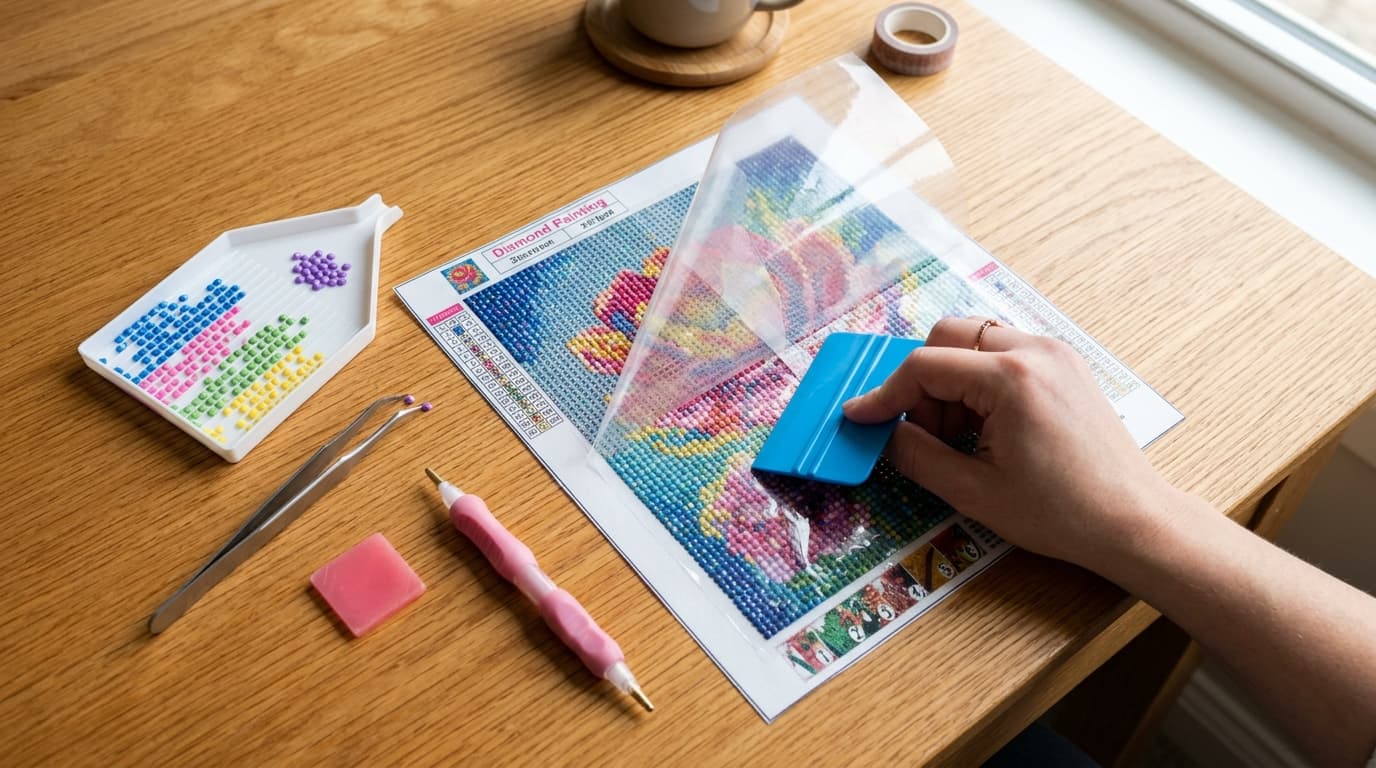
At a Glance
Key findings and core takeaways from our testing and hands-on crafting experience.
Diagnose the Problem: Dirty Glue vs. Missing or Dried Glue#
Few things are more frustrating than pressing a drill onto your canvas only to watch it slide right off or refuse to leave the tip of your pen.
Before you reach for glue, figure out which of the two adhesive problems you are dealing with:
- Scenario A — Dirty or Oily Adhesive (The Glue Is Still There, Just Covered): You left the protective film off overnight, rested your palm on the canvas, or spilled fuzz/pet hair onto the grid. When you touch the spot with a clean knuckle, you can still feel a rubbery layer on the canvas, even though drills won't grab.
- Scenario B — A "Sticky-Free" Patch (Dried Out or Factory Defect): Either an old kit sat in a hot garage until the glue cured dry, or the factory poured-glue machine missed a corner or border strip. When you touch the spot, it feels like bare dry printed cloth.
Here is the exact step-by-step fix for both scenarios!
Step 1: Clean Dust, Lint & Pet Hair With an Alcohol-Free Baby Wipe#
If your canvas still has glue on it (Scenario A), do not use rubbing alcohol, nail polish remover, or Goo Gone—solvents dissolve acrylic adhesive permanently. Instead, use water-based cleaning:
- Take an unscented, alcohol-free baby wipe (or a microfiber cloth lightly dampened with warm water and one drop of mild dish soap).
- Gently dab and wipe across the dusty adhesive section in circular motions. You will see lint, paper fibers, and skin oils lift off the surface.
- Wait 5 to 10 minutes for the moisture to evaporate completely. While the glue is wet, it will feel completely slippery and non-sticky—do not panic! As soon as the water evaporates, the original factory tack returns.
Turn your own photo into a diamond painting chart
Upload any photo, match 480+ official DMC colors, compare round & square drills, and preview high-res detail in your browser.
Step 2: Restore "Sticky-Free" Patches With Repositionable Tacky Glue#
What if part of your diamond painting is completely sticky-free (Scenario B) or cleaning didn't bring the tack back?
You need a pressure-sensitive repositionable adhesive—a glue that dries permanently sticky rather than drying hard. Here are the best options ranked:
| Product | How It Works | Dry Time Before Drilling | Verdict |
|---|---|---|---|
| Aleene's Tack-It Over & Over | Liquid acrylic repositionable adhesive | 15–25 minutes (until clear) | 🏆 Gold standard ($5 at craft stores) |
| Diamond Dotz "Dotz Stick" | Purpose-made liquid diamond art adhesive | 15–20 minutes (until clear) | 🏆 Identical formula to factory poured glue |
| Zig 2-Way Glue Pen (Chisel Tip) | Pen dispenser (goes on blue, dries clear) | 2–5 minutes | Best for tiny 1×1 cm or 3×3 cm dry spots |
| Double-Sided Hi-Tack Craft Tape | Clear archival double-sided tape sheet | Instant (0 minutes) | Great for DIY charts or dry canvas borders |
To apply liquid repositionable glue (Aleene's Tack-It Over & Over or Dotz Stick):
- Squeeze a pea-sized drop onto a piece of foil or pallet paper.
- Using a small silicone makeup applicator, foam brush, or flat nylon paintbrush, brush a paper-thin coat over the dry section of the canvas.
Step 3: Wait Until the Glue Turns 100% Clear Before Drilling#
This is the step where most crafters make a mistake: never place drills into wet white liquid glue!
- Both Aleene's Tack-It Over & Over and Dotz Stick go on milky white.
- Let the canvas sit uncovered in a dust-free spot for 15 to 25 minutes.
- Once the milky white layer turns 100% crystal-clear, test it lightly with your fingertip. It will feel just like brand-new factory poured glue—ready to hold drills indefinitely!
Emergency Fix for a Single Popping Drill (With No Special Glue)#
What if your canvas is 99% done, you don't own repositionable glue, and just 2 or 3 individual drills keep popping off in one stubborn spot?
- Dip the tip of a wooden toothpick into clear nail polish, Mod Podge Super Gloss, or Elmer's Clear Glue.
- Dot a microscopic droplet onto the exact grid square on the canvas.
- Immediately press the single drill into place with tweezers and hold for 5 seconds. (Only use this trick for 1–5 individual drills right as you place them, since these glues dry hard within 60 seconds.)
What to Do If You Put the Plastic Cover On Upside Down#
Opaque white release paper is coated with silicone on both sides, but clear plastic film is often non-stick on ONLY ONE side! If you take the entire clear sheet off and lay it back down upside down, it will bond to the glue like packing tape.
If this happens to you:
- Stop pulling upward at 90 degrees (which can rip the glue off the canvas).
- Warm the back of the canvas gently with a hair dryer on Low for 15–20 seconds to soften the glue slightly.
- Fold the corner of the stuck plastic film flat back against itself (a sharp 180-degree peel angle) and pull slowly and steadily millimeter by millimeter while holding the canvas flat.
- Once removed, test a corner of your replacement parchment paper (silicone-coated non-stick baking parchment—never wax paper!) before covering the canvas.
Frequently Asked Questions#
Why is my diamond painting not sticky anymore?
The two most common causes are surface contamination (dust, lint, pet hair, or hand oils coating the glue) or leaving the protective cover off for weeks in a dry, warm room. Wiping gently with an alcohol-free baby wipe cures dust contamination; brushing on a thin coat of Aleene's Tack-It Over & Over cures dried-out glue.
Can I use Mod Podge to make an unfinished diamond painting canvas sticky again?
No—do not brush Mod Podge onto a blank section expecting it to stay tacky while you work over the next few days. Mod Podge dries into a hard, non-sticky seal within 20 minutes. Only use Mod Podge as a top-coat sealer after your diamond painting is finished (or with a toothpick to glue down 1–2 loose drills immediately).
What can I use if I lost the plastic cover for my diamond painting?
Use non-stick silicone baking parchment paper (such as Reynolds Kitchens Parchment Paper). Cut it into 10×10 cm squares for easy sectioning. Never use wax paper or freezer paper, as the wax coating will fuse permanently to the canvas adhesive!
How the 3 Layers Fit Together
Tap any layer below to inspect how your DIY canvas is built.
Double-Sided Adhesive Sheet
A crystal-clear, high-tack craft sheet that permanently locks 2.5 mm square or 2.8 mm round diamond drills onto your pattern with zero liquid glue.
Ready to turn your photo into a diamond painting?
Upload any photo and get a printable pattern with exact colors and drill counts, free to try.
First pattern export free · iPhone, iPad & Mac · Free browser preview on any device
Frequently Asked Questions
How do you make a diamond painting canvas sticky again?+
For dusty or lint-covered glue, wipe gently with an unscented, alcohol-free baby wipe and let air-dry for 10 minutes. For dried-out or missing glue, brush on a thin layer of Aleene's Tack-It Over & Over or Diamond Dotz Stick and let it dry clear (15–20 minutes) before placing drills.
What if part of my new diamond painting is sticky-free?+
If a factory canvas has a dry patch with no adhesive, apply a Zig 2-Way Glue Pen (for small spots) or a thin brush coat of Aleene's Tack-It Over & Over (for larger sections). Once it turns clear, it acts identically to factory poured glue.
Does baby wipe really work on diamond painting glue?+
Yes! Alcohol-free baby wipes remove dust, paper lint, and skin oils without dissolving the acrylic adhesive. While wet, the glue will feel slippery, but full stickiness returns as soon as the water evaporates.
Can I use parchment paper on a diamond painting canvas?+
Yes, non-stick silicone-coated baking parchment paper is the best replacement cover for diamond painting canvases. Never use wax paper, which sticks permanently to the adhesive.
Continue Reading
More diamond painting guides, DMC color tools, and sizing formulas.
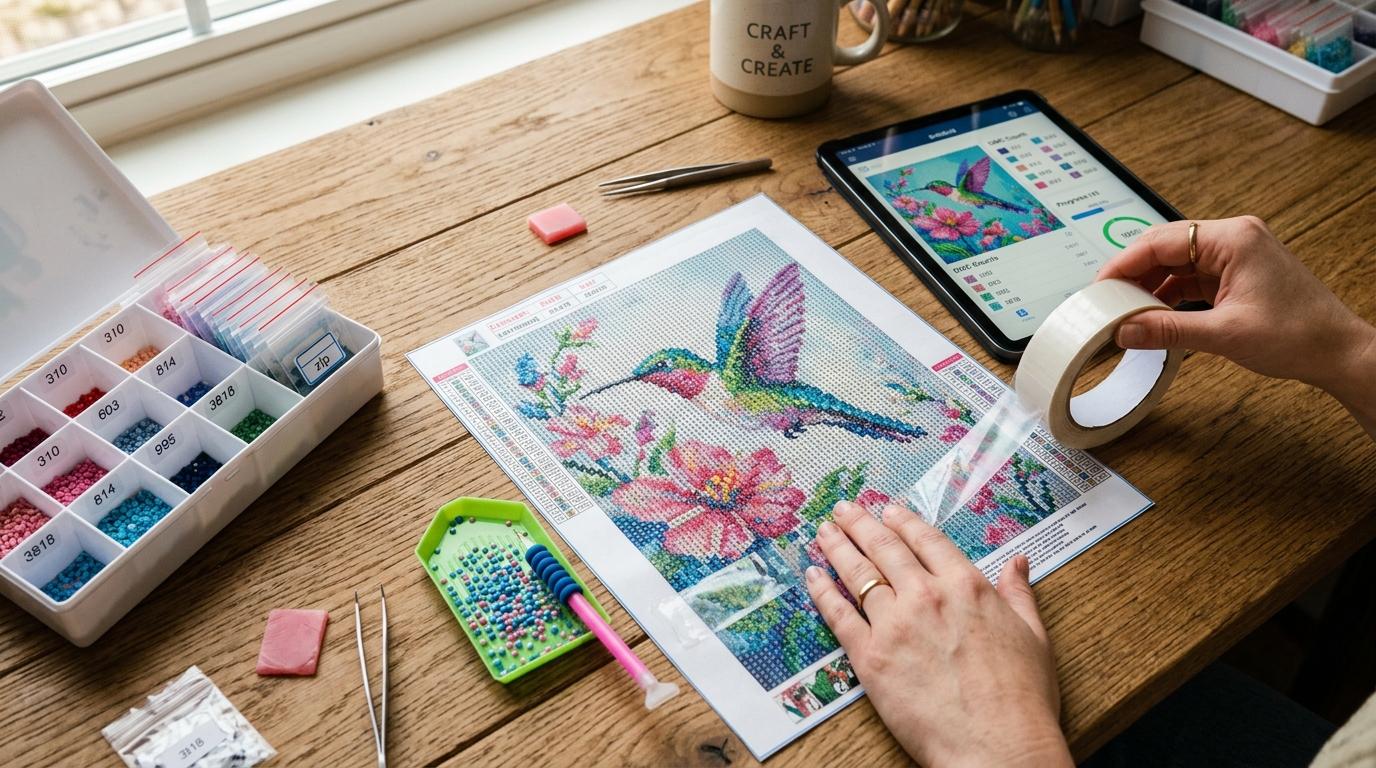
How to Create Your Own DIY Diamond Painting Kits (Easy Step-by-Step)
Learn how to make DIY diamond painting kits at home: step-by-step guide to printing charts, applying adhesive sheets, and placing drills.
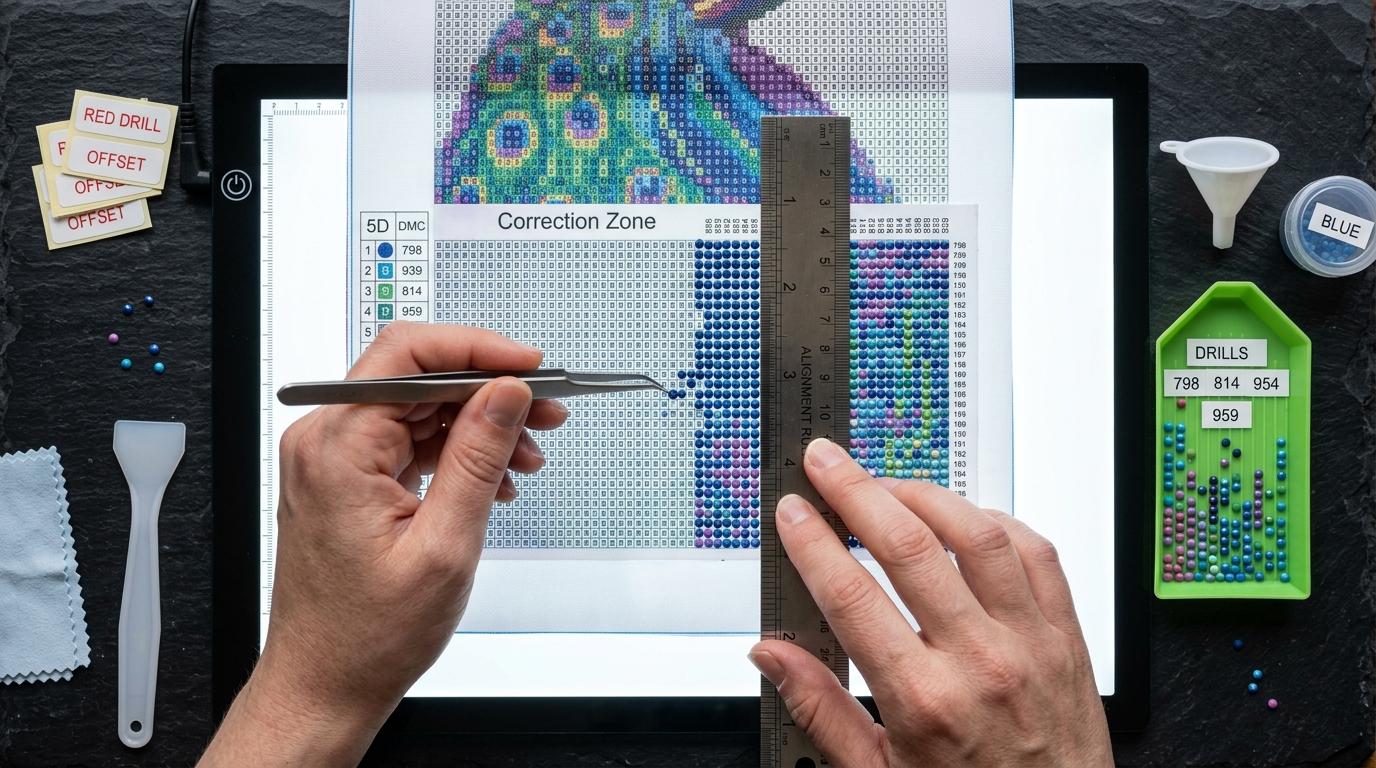
12 Diamond Painting Mistakes to Avoid (And How to Fix Them)
Avoid common diamond painting mistakes: peeling too much film, blurry small canvases, crooked rows, and dried glue—plus how to fix each issue fast.
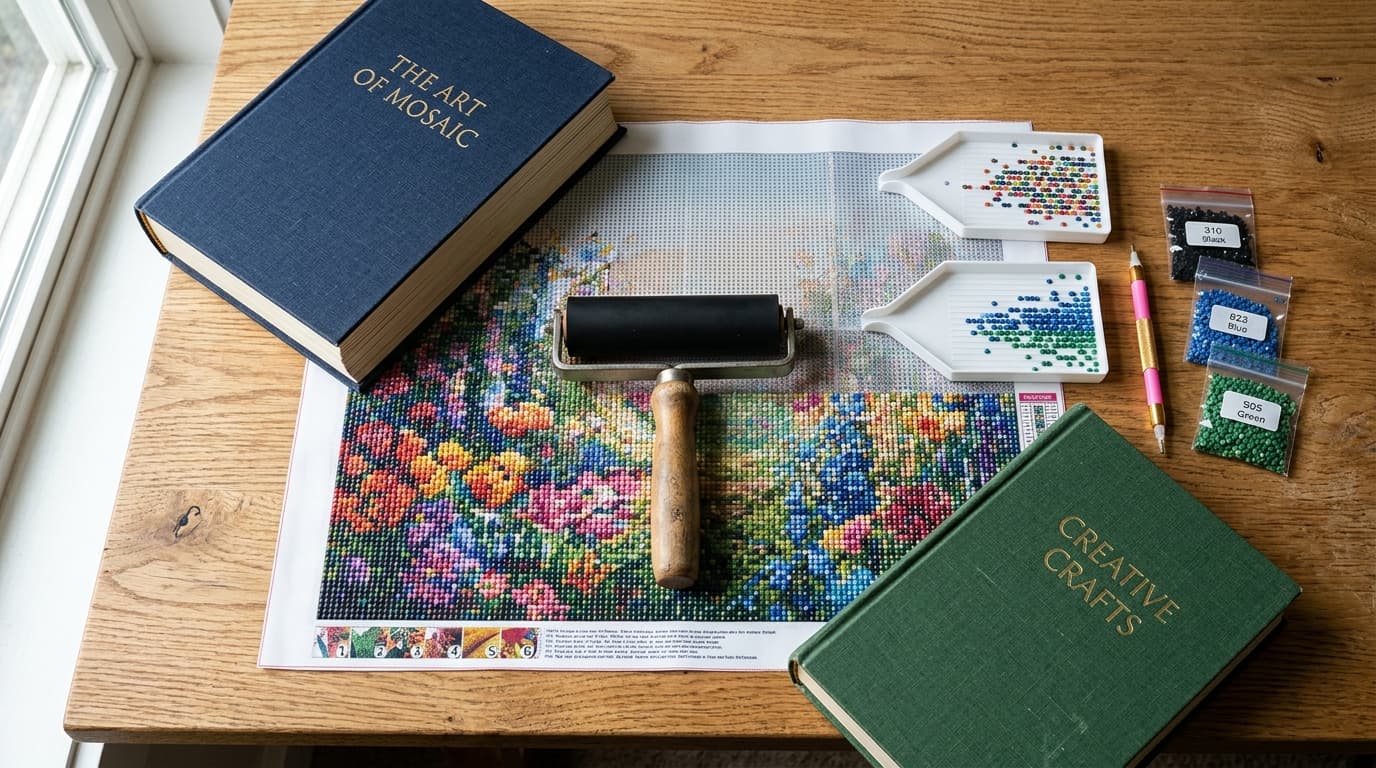
How to Flatten a Diamond Painting Canvas: 5 Safe Methods (Plus River & Air Bubble Fixes)
Learn how to flatten a rolled diamond painting canvas fast using 5 safe methods. Includes poured glue vs double-sided tape rules and how to fix canvas rivers.
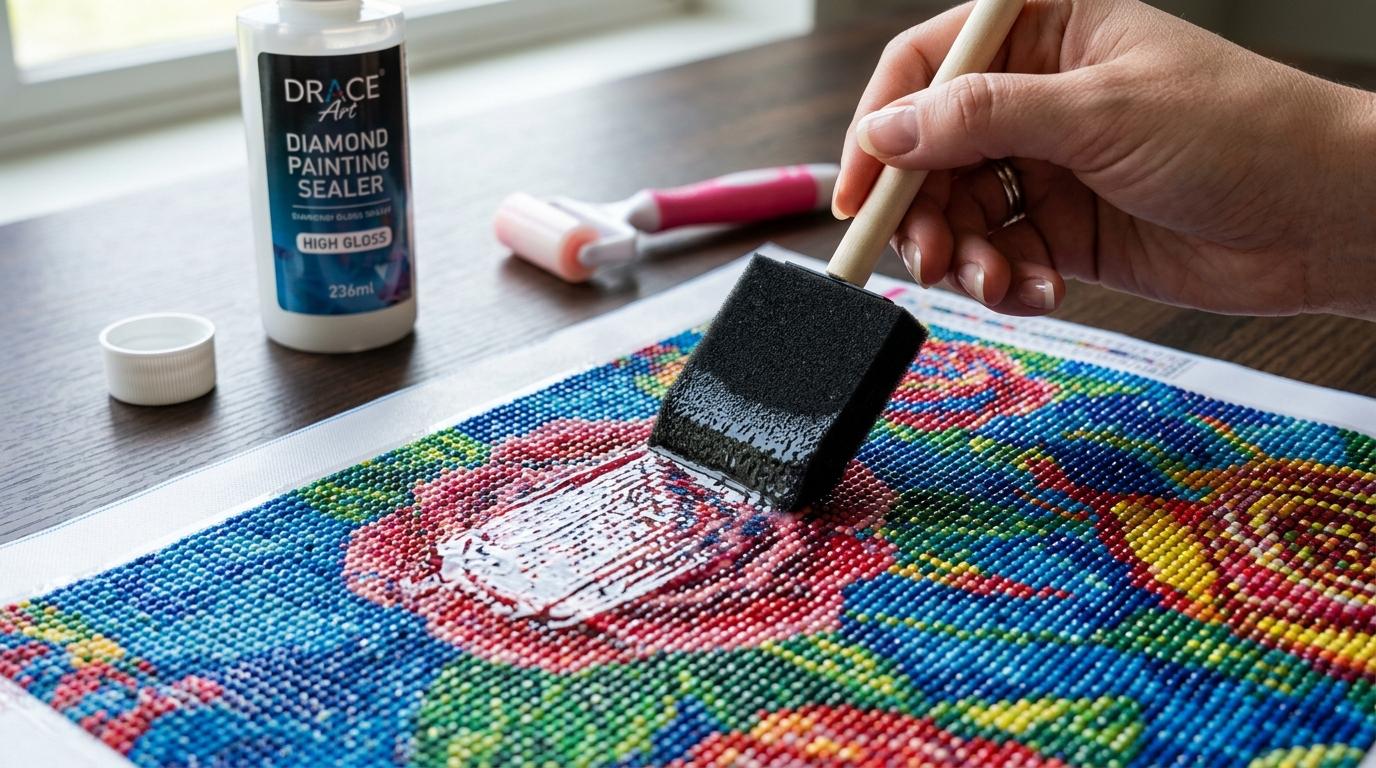
How to Seal a Diamond Painting: The Complete Step-by-Step Guide
Learn how to seal a finished diamond painting so drills never fall off. Covers the best products to use, how to apply them, and how to keep AB drills shiny.