How to Use a Diamond Painting Multi-Placer (Without Crooked Rows or Gaps)
Master the rocking technique, choose the right tip size (3-placer vs. 6-placer vs. 10-placer), and finish large color blocks up to 3x faster.
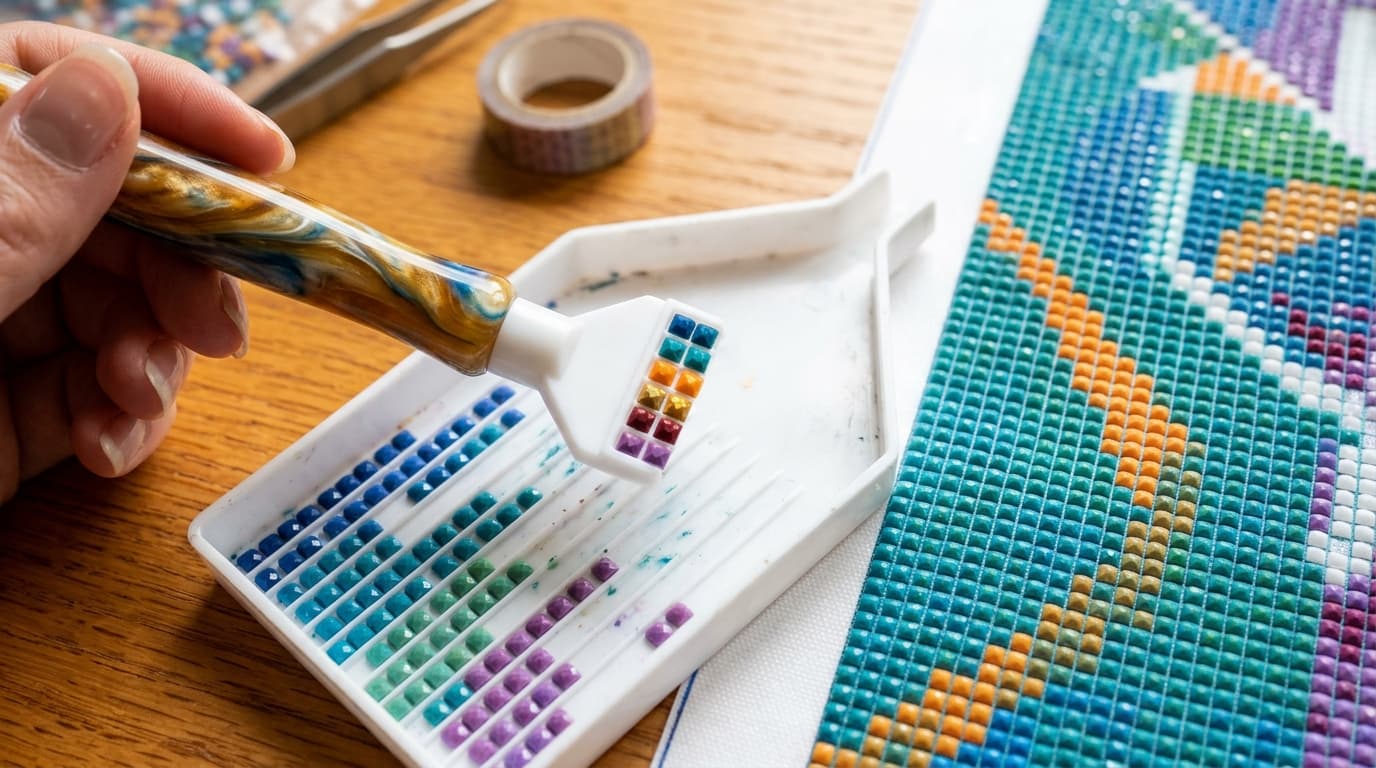
At a Glance
Key findings and core takeaways from our testing and hands-on crafting experience.
What Is a Diamond Painting Multi-Placer (And Why Do Most Beginners Quit)?#
Every diamond painting kit comes with a small plastic bag containing wider flat attachments that push into the back end of your drill pen. These are multi-placers—tools designed to pick up 3 to 12 drills in a single row and press them onto the canvas simultaneously.
Yet if you ask a group of diamond painters about multi-placers, half of them will say they threw theirs back in the drawer after five minutes because:
- The drills picked up crookedly with wide gaps between them.
- Only 3 out of 6 drills actually stuck to the canvas.
- They spent more time straightening the crooked row with tweezers than single-placing would have taken!
The good news? Multi-placing isn't luck—it comes down to three tiny mechanical adjustments: picking the right tip size, eliminating gaps in your tray before touching the pen down, and using a heel-to-toe rocking motion instead of stamping flat.
Multi-Placer Size Chart: Which Tip Should You Actually Use?#
Not all multi-placer sizes are created equal. Wide plastic 9-, 10-, and 12-placer tips flex in the middle and make it hard to see the printed symbols underneath. Here is how experienced crafters rank each size:
| Multi-Placer Size | Difficulty | Best Use Case | Recommended For |
|---|---|---|---|
| 3-Placer / 4-Placer | ⭐ Easy | Everyday shading, medium color blocks, pet fur, foliage | #1 Best choice for beginners & square drills |
| 6-Placer / 7-Placer | ⭐⭐ Medium | Large skies, portrait backgrounds, borders | Round & square color-blocking once comfortable |
| 9-Placer to 12-Placer | ⭐⭐⭐ Hard | Huge monochrome backgrounds (e.g., solid DMC 310 borders) | Experienced multi-placers using high-walled trays |
| Angle / Straightener Tip | ⭐ Easy | Pushing crooked rows into alignment after placing | Every crafter (keep on one end of your pen!) |
Turn your own photo into a diamond painting chart
Upload any photo, match 480+ official DMC colors, compare round & square drills, and preview high-res detail in your browser.
Step 1: Load Your Multi-Placer With Wax or Putty (Without Overflow)#
If wax or scented putty bulges out over the metal edges of your multi-placer slot, drills will stick to the outside wall at crooked angles:
- Peel back the clear film on your pink wax pad (or knead a pea-sized ball of scented craft putty until warm).
- Press the multi-placer slot straight down through the wax 2 times so the channel fills completely from end to end.
- Use your fingernail or tweezers to scrape away any excess wax hanging over the outer rim. The wax should sit completely flush inside the narrow trough.
Step 2: Shake & Align a Tight Train of Drills in Your Tray#
A multi-placer cannot fix gaps that already exist in your tray. If two drills in your tray have a 1 mm gap between them, they will land on your canvas with a 1 mm gap!
- Pour a generous scoop of drills into a grooved boat tray and gently shake side-to-side at a slight downward tilt so the drills settle faceted-side up in the channels.
- Tap the back end of the tray lightly on the table (or push the bottom drill of a column gently upward with your pen tip) so the drills slide tightly together bumper-to-bumper with zero space between them.
Step 3: Pick Up & Place Using the "Heel-to-Toe" Rocking Motion#
Never stamp a multi-placer straight down like a rubber stamp—that traps air and blocks your view of the grid symbol. Instead, use the Heel-to-Toe Rocking Technique:
- Rock to Pick Up: Touch the bottom end ("heel") of your multi-placer onto the first drill in your tight tray column, roll the tip forward to the last drill ("toe"), and lift straight up. Check that the drills form a tight, straight line on the tip.
- Anchor the First Drill at 30°: Hover over your canvas at a 30-degree angle so you can clearly see the printed symbol under the very first drill on the bottom end of your multi-placer.
- Roll Down and Release: Place that first anchor drill squarely onto its grid cell, rock the pen tip down flat until the last drill touches the canvas, and rock slightly sideways to peel the wax smoothly off the tops of the drills.
Can You Use a Multi-Placer With Square Drills? (The Checkerboard Bridge)#
While round drills (2.8 mm) are very forgiving with a multi-placer, square drills (2.5 mm) have zero gap tolerance—if one drill rotates by 5 degrees, the whole row shifts.
To get laser-straight square drills with a 3-placer or 4-placer, combine the Checkerboard Technique with multi-placing:
- First, single-place a staggered "frame" or alternating columns every 3 or 4 squares.
- Next, use your 3-placer or 4-placer to fill the channels between those anchored drills. Because the surrounding square drills act like physical guide rails, your multi-placed square drills snap into alignment with an audible click!
Learn more about how square and round grid dimensions work in our Square vs. Round Drills Guide.
How Much Time Does Multi-Placing Save by Canvas Size?#
Curious how much faster you'll finish your current project once you master a 4-placer or 6-placer? Use our interactive Canvas Size & Time Calculator below, or compare these real-world averages:
| Canvas Size | Total Drills (Square) | Single-Placer Only (~350/hr) | With 4-Placer / 6-Placer (~800/hr) | Time Saved |
|---|---|---|---|---|
| 30 × 40 cm | 19,200 drills | ~55 hours | ~24 hours | 31 hours saved |
| 40 × 50 cm | 32,000 drills | ~91 hours | ~40 hours | 51 hours saved |
| 50 × 70 cm | 56,000 drills | ~160 hours | ~70 hours | 90 hours saved |
Frequently Asked Questions#
Why won't drills stick to my multi-placer?
Either the thin protective plastic film is still covering one side of your pink wax square, the wax inside the multi-placer trough has dried out from dust, or there is an air pocket behind the wax. Scrape out the old wax with a toothpick and press firmly into fresh wax twice.
What is the flat blade attachment that came with my diamond painting pen?
A wide, solid flat plastic blade with no groove or channel is a straightener / aligner tool (not a multi-placer). You never put wax on it—instead, you slide it along the vertical and horizontal rows of placed drills on your canvas to nudge crooked drills into straight lines.
Is wax or putty better for multi-placing?
Many experienced multi-placers prefer scented craft putty (like Blu-Tack or alien putty) inside their multi-placer tip because it lasts 5 to 10 times longer than pink wax before needing a refill and holds a firmer grip across all 4 to 6 drills.
Interactive Canvas & Drill Weight Calculator
Calculate physical drill counts, weight in grams, bag orders, and detail rating in real time.
Great for solo portraits, close-up pet faces, and high-contrast pop art.
Upload a photo and see exactly how it looks at this size. Free to try.
Ready to turn your photo into a diamond painting?
Upload any photo and get a printable pattern with exact colors and drill counts, free to try.
First pattern export free · iPhone, iPad & Mac · Free browser preview on any device
Frequently Asked Questions
What is the easiest multi-placer size for beginners?+
A 3-placer or 4-placer is the easiest size to learn with. It is short enough that you can easily align all drills in the tray and see the canvas symbols underneath, while still doubling or tripling your placement speed.
How do I stop my multi-placed drills from going on crooked?+
First, tap your tray so the drills touch bumper-to-bumper with no gaps before picking them up. Second, touch the bottom drill of your multi-placer onto its grid square at a 30-degree angle first, then rock the tip down onto the canvas rather than stamping straight down.
Do you put wax in a diamond painting multi-placer?+
Yes, any grooved multi-placer tip (3-placer, 6-placer, 10-placer) requires pink wax or craft putty pressed flush into the narrow channel. Only the solid flat straightener blade is used without wax.
Are stainless steel multi-placer tips worth buying?+
Yes! Stainless steel tips have ultra-thin walls that never bend or splay out over time, allowing you to see the exact grid line under your drills and place significantly straighter rows than thick white plastic tips.
Continue Reading
More diamond painting guides, DMC color tools, and sizing formulas.
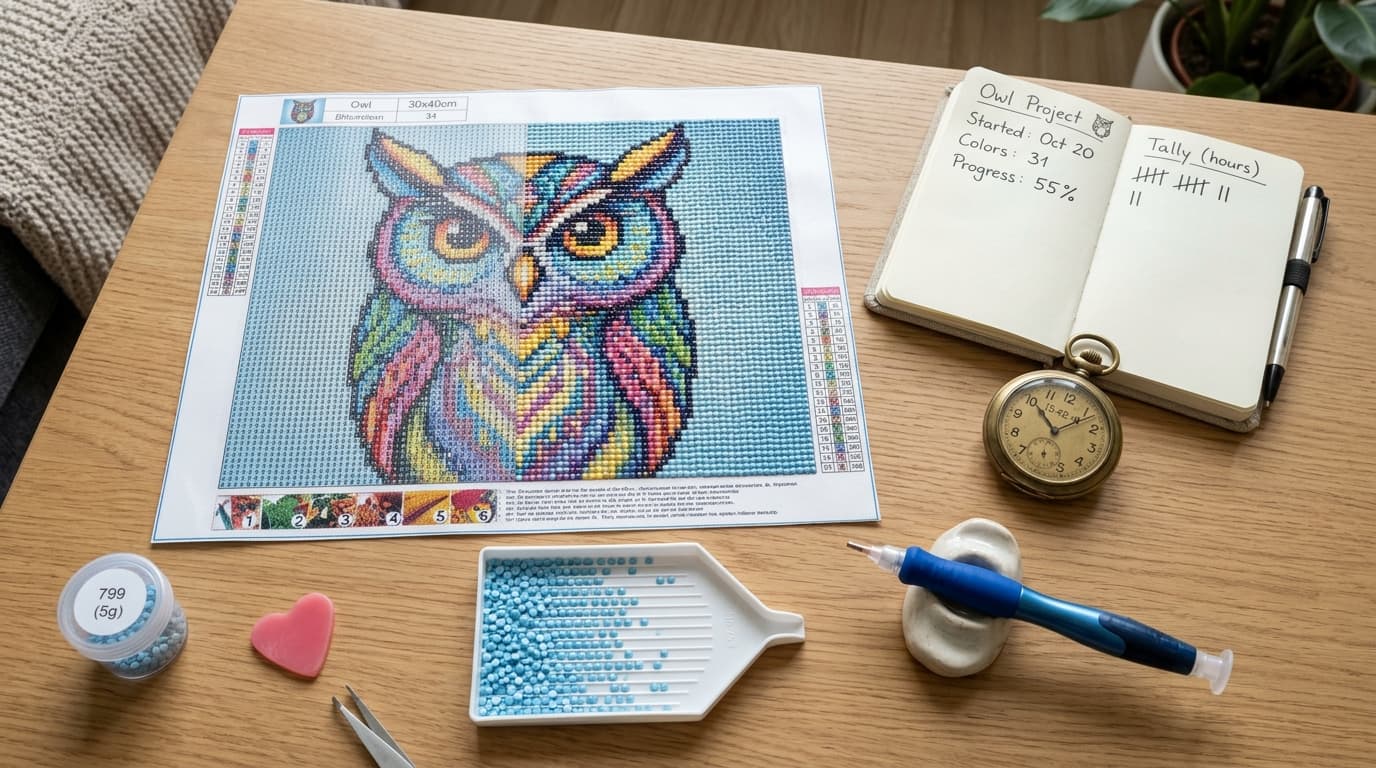
How Long Does a Diamond Painting Take? (Drill Time & Speed Calculator)
How long does a diamond painting take? Calculate completion times by canvas size, single vs. multi-placing speed, and confetti density with practical charts.
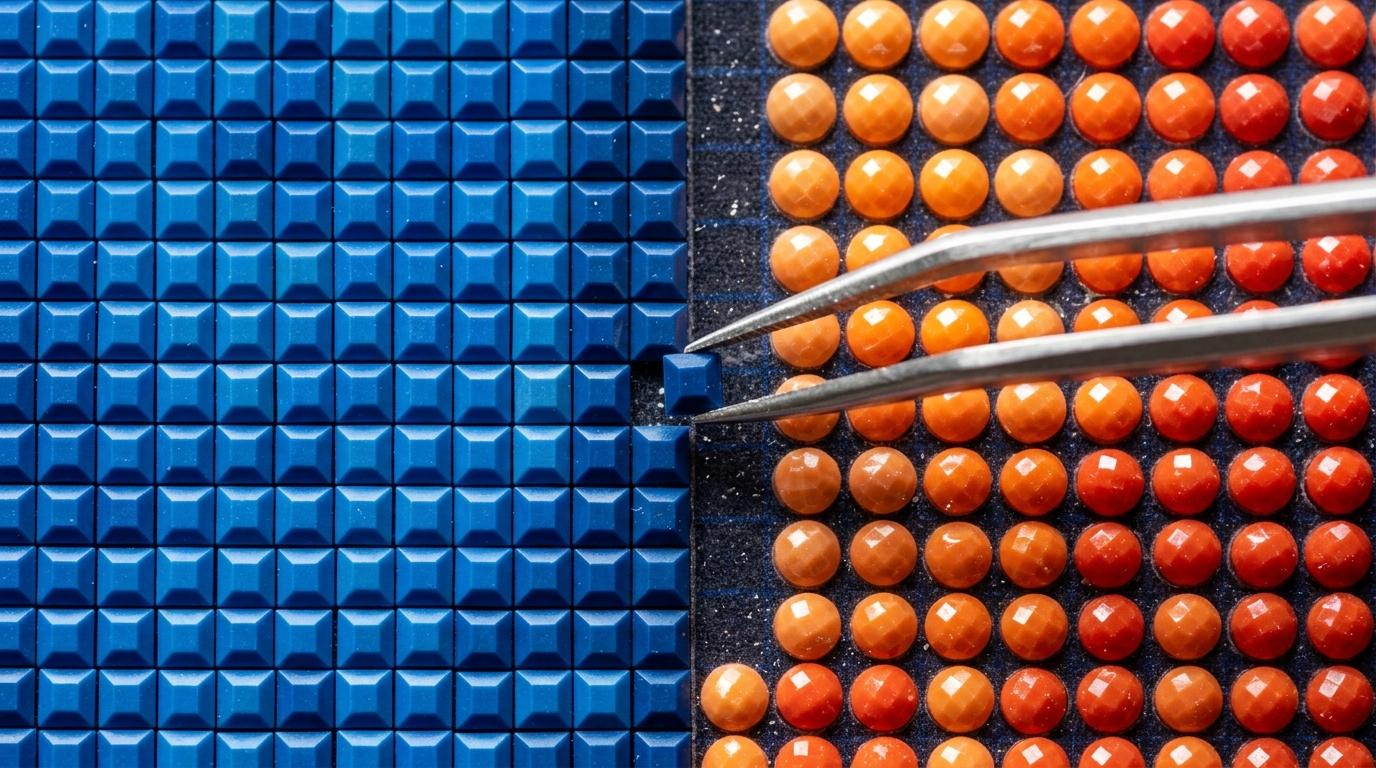
Square vs. Round Diamond Drills: Which Is Right for Your Project?
Square drills or round drills? Compare how each one looks, how easy they are to place, and which is better for your next project.
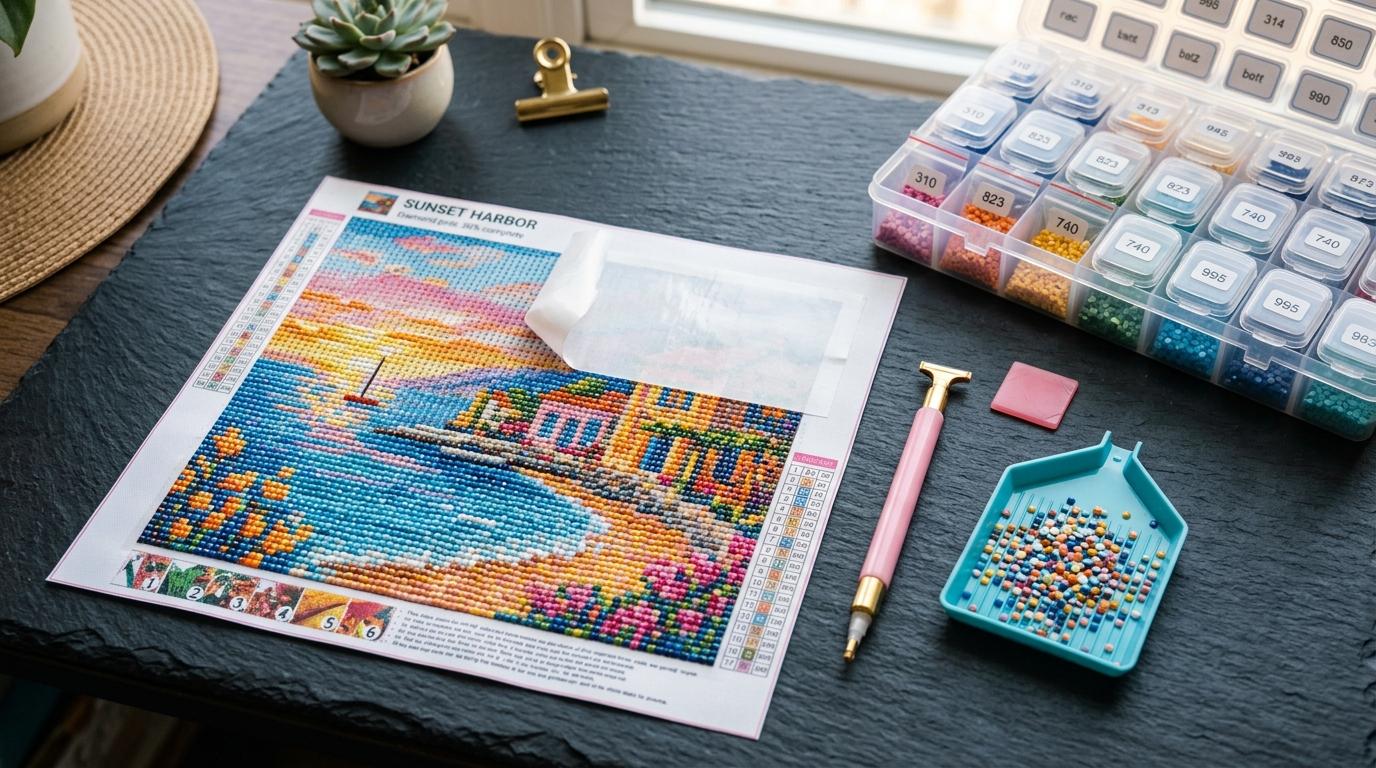
Diamond Painting for Beginners: The Complete Starter Guide (2026)
New to diamond painting? Our complete beginner's guide covers canvas sizes, square vs round drills, DMC colors, light pads, and custom photo patterns.
12 Diamond Painting Mistakes to Avoid (And How to Fix Them)
Avoid common diamond painting mistakes: peeling too much film, blurry small canvases, crooked rows, and dried glue—plus how to fix each issue fast.